
Want to watch the video instead?
1. Prerequisites
- Latest Oculus Integration package.
- A minimum Unity version of 2019.4 LTS
You should also have your Unity project set up for Oculus Quest. If you are unsure how that’s done, you can read through the instruction provided in sections 4 and 5 of the Passthrough blog. In addition, you can download the base repository from here.
2. Adding Hand Interactor
Once your Unity project is set up with all the required project settings and packages downloaded. We can start developing for hand interaction.
So let's begin by adding prefabs to the scene which will collectively enable us to use our hands for interaction.
- In the Hierarchy window, delete the
Main Camera. - Search for
OculusInteractionSampleRigin the Project window → drag and drop the prefab into the Hierarchy window. - Open the
OculusInteractionSampleRigprefab to view its children → open theInputOVRprefab → open theLeftHandandRightHandGameObjects. - Search for
HandGrabInteractorin the Project window → drag and drop the prefab into theHandInteractorGameObject of bothLeftHandandRightHandGameObjects → rename them as HandGrabInteractorLeft and HandGrabInteractorRight respectively.
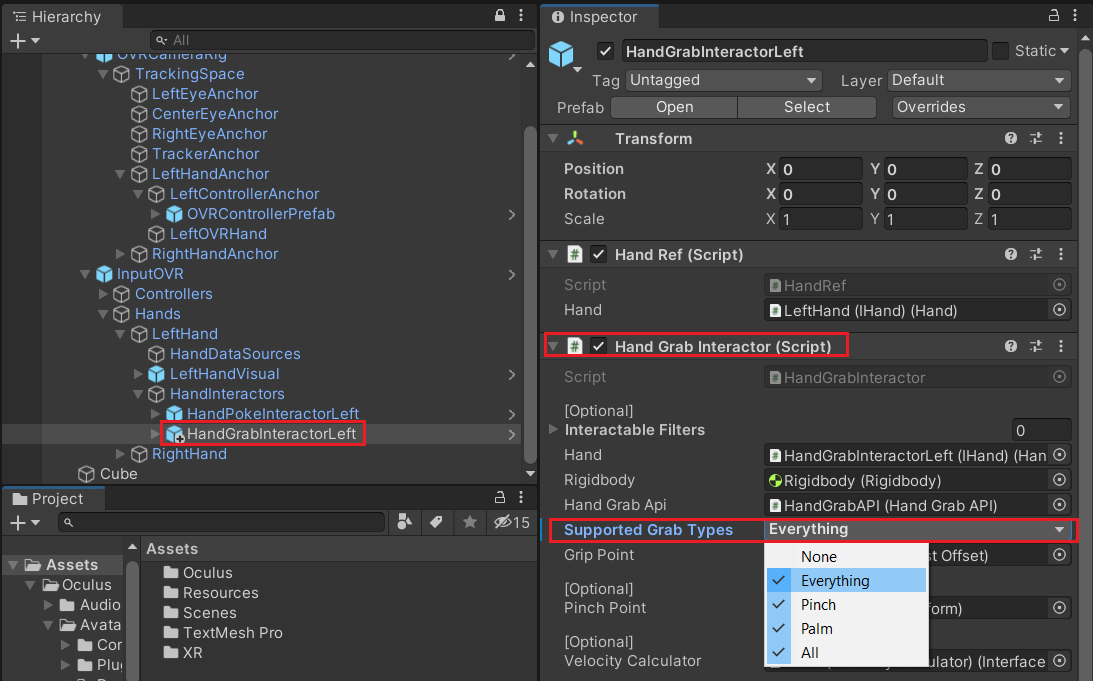
- Select the
HandGrabInteractorLeftprefab, drag and drop theLeftHandGameObject into the Hand parameter of the Hand Ref component. Similarly, drag and drop theRightHandGameObject into the Hand parameter of the Hand Ref component of theHandGrabInteractorRightprefab. - Select the
HandInteractorof theLeftHandGameObject and drag and drop theHandGrabInteractorLeftprefab into the Interactor Drivers parameter of the Interactor Driver Group component. Similarly, select theHandInteractorof theRightHandGameObject and drag and drop theHandGrabInteractorRightprefab into the Interactor Drivers parameter of the Interactor Driver Group component.

3. Adding Interactable
Let’s begin with one hand interaction. As the name suggests, this is a type of interaction where we can use only one hand at a time to interact with an object. This can be used in cases where we want to move an object from one place to another i.e simply drag and drop an object from one place to another. To add such a feature:
- Right-click on the Hierarchy window →
3D Objects→Cube. - Adjust the scale and transform such as you have a handy-sized cube in front of the camera.
- Select the
3D CableGameObject and the following components to i- The Rigidbody component → uncheck the Gravity parameter.
- The Grabbable component
- The Hand Grab Interactable component
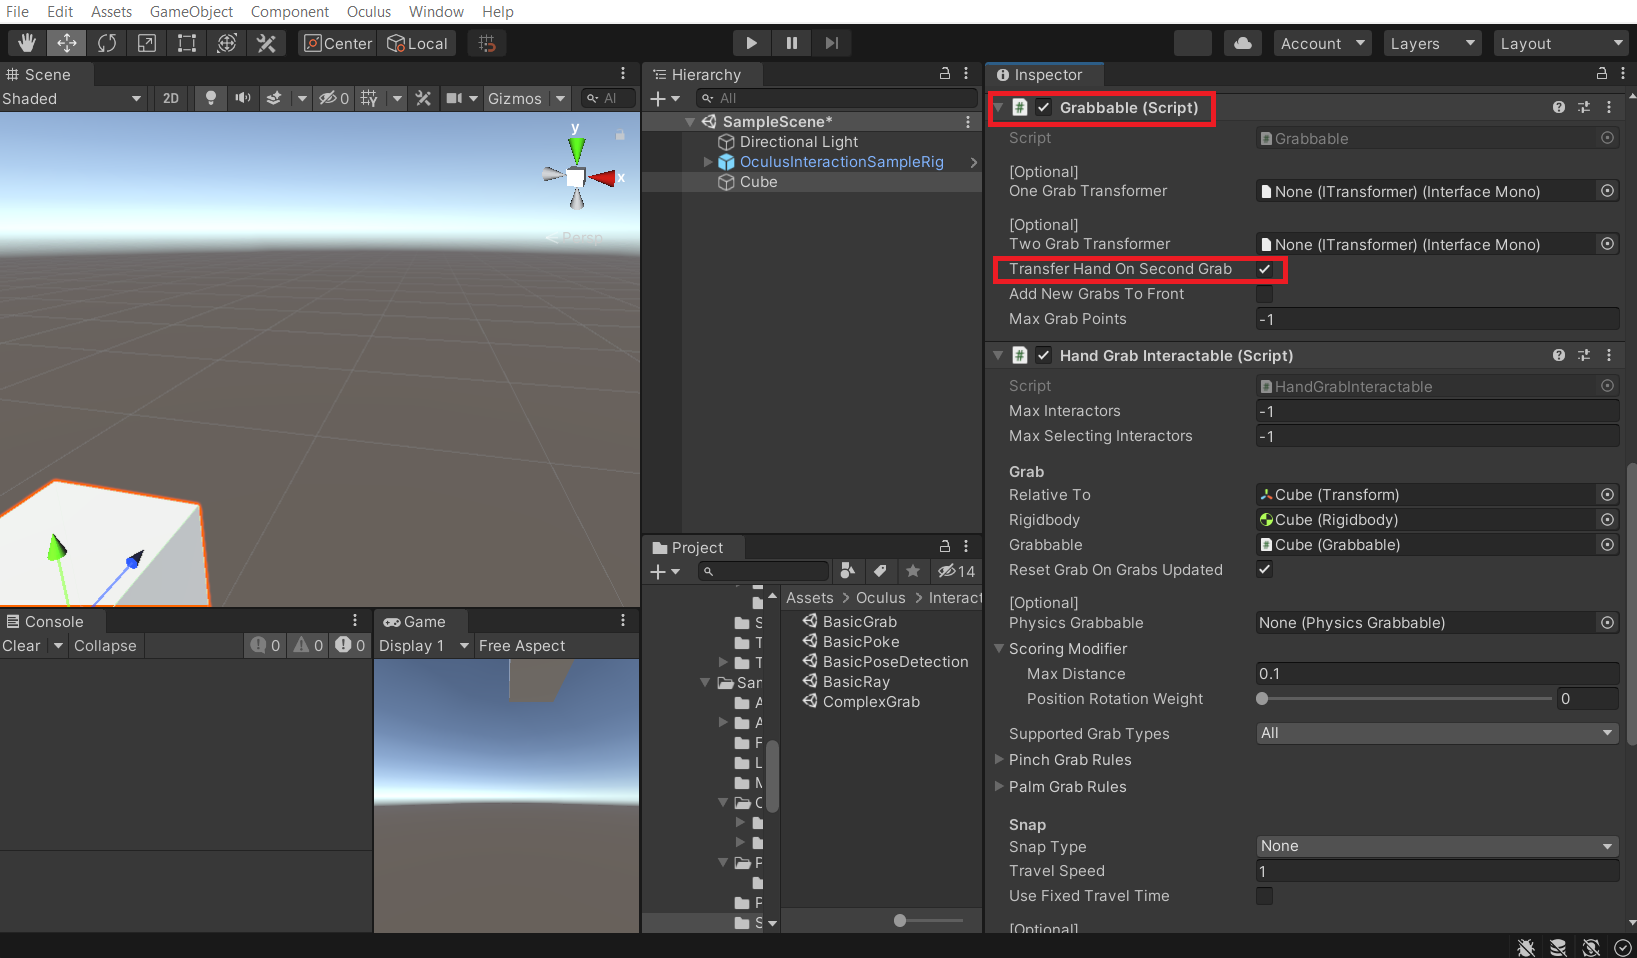
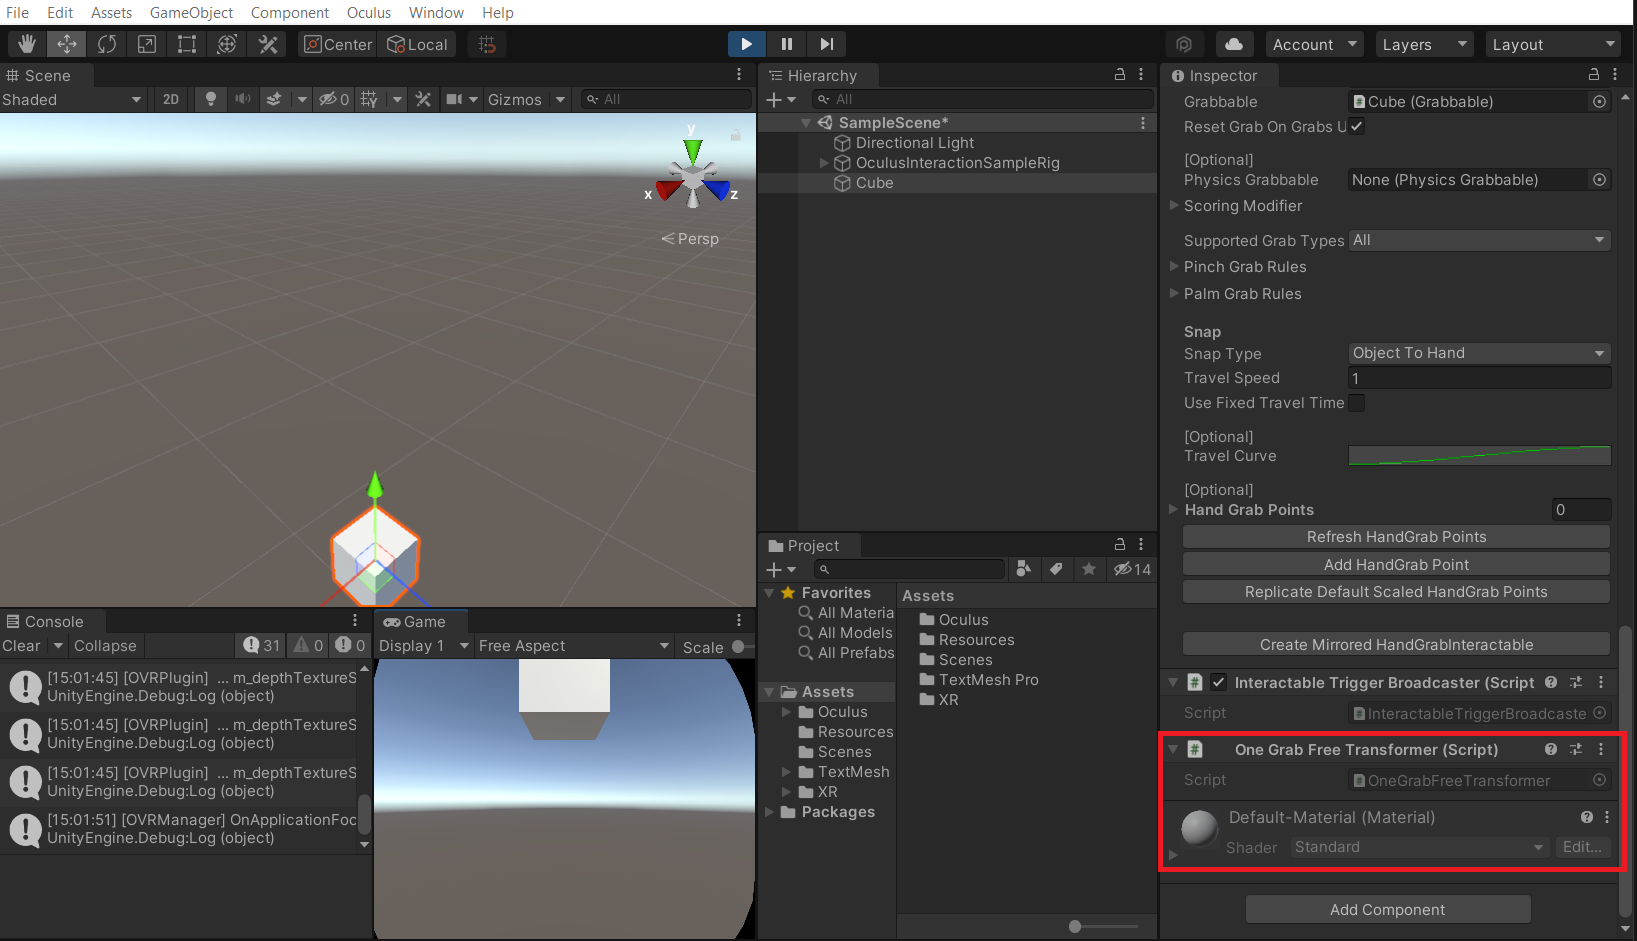
- Select the Cube GameObject → under the Grabbable component check the box ✅ for the parameter Transfer Hand On Second Grab, so that the object gets transferred from the current hand to the new one.
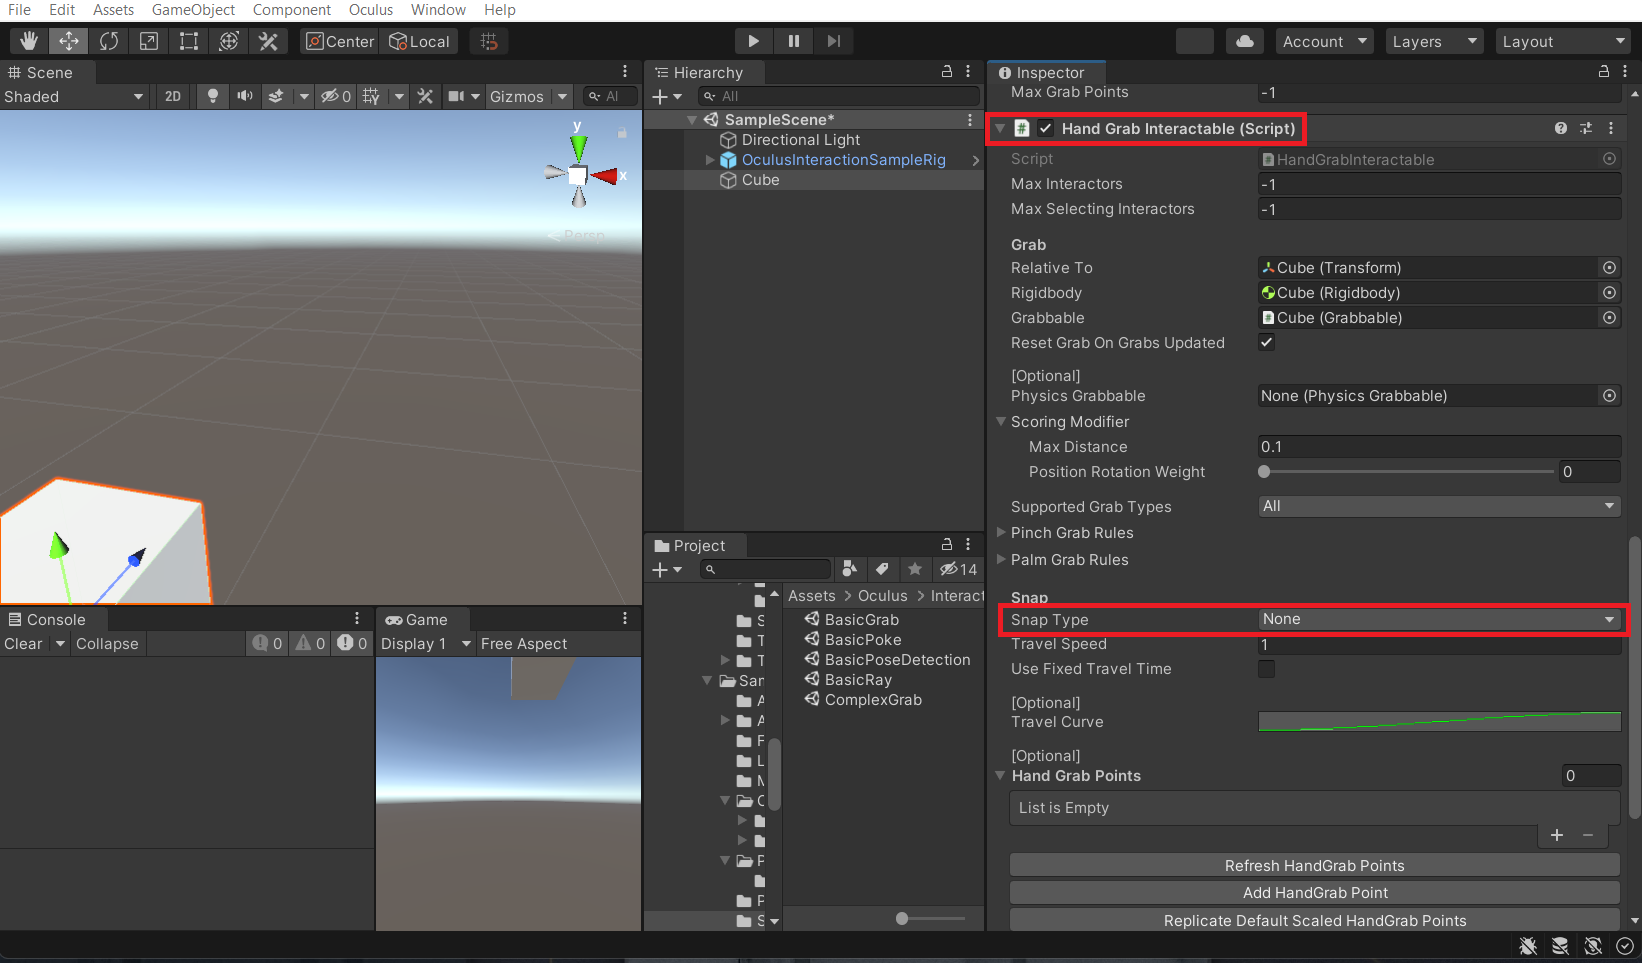
- Also, set the Snap Type parameter as None of the Hand Grab Interactable component. This will ensure that the cube does not snap into the hand, instead, it will remain at the point of grab.
Conclusion
