Imagine bringing your virtual experience to life by creating interaction that can actually feel. That's the magic of haptic feedback—it adds a tangible layer to your digital experiences, making them more immersive and memorable. Whether you're working on a game, a storytelling journey, or a training module, haptics can significantly elevate your projects.
Want to watch the video instead?
Lucky for us, Meta has come with some powerful tools like the Haptics Studio and Haptics SDK that allow us to design immersive haptic effects and seamlessly integrate them into our applications. Additionally, these tools support cross-platform integration, allowing us to use them on different platforms like Quest, PCVR, PSVR, and Pico, making them incredibly versatile.
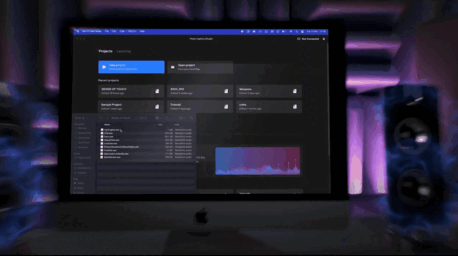
Meta Haptics Studio
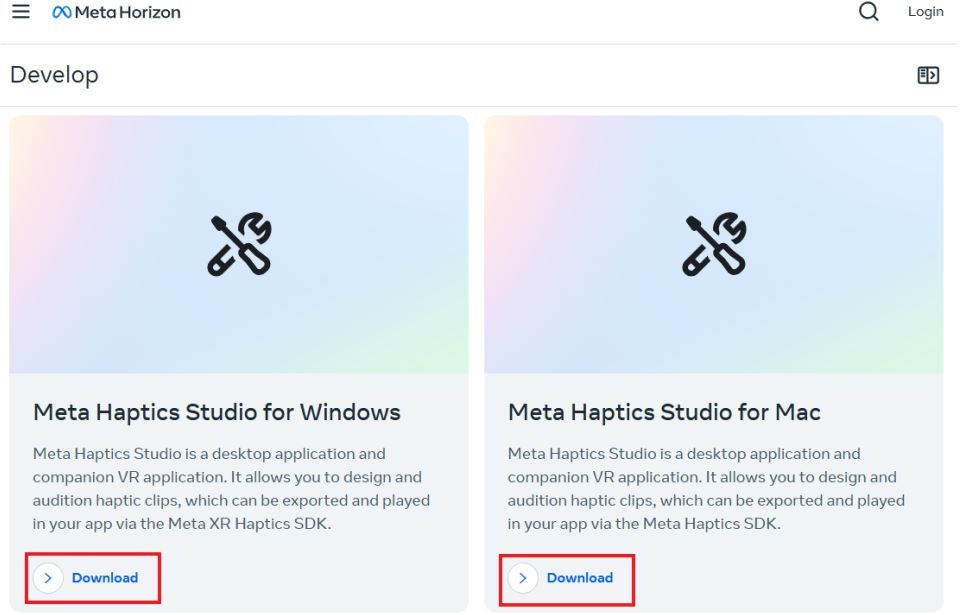
Haptics Studio is your essential tool for crafting haptic feedback. It's available as a desktop application for both Mac and Windows, which you can download from here, with a companion app for headsets to test the haptics.
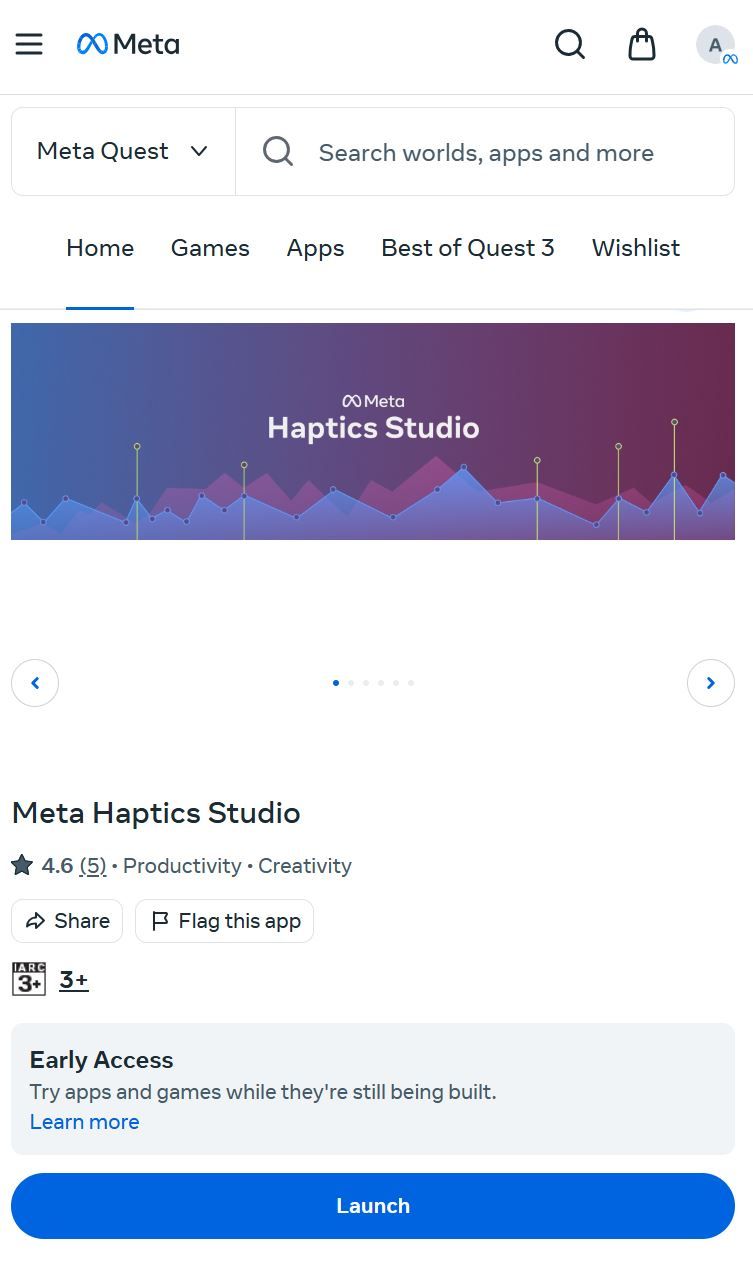
Haptics Studio Companion App
Import, Create, and Fine-Tune
Creating haptics effects in Haptic Studio is intuitive. Whether it's a deep rumble for explosions or a soft click for button presses, the tool allows you to fine-tune each effect.
1. Importing Sounds and Designing Haptic Feedback:
Importing your sounds is as easy as dragging and dropping them into the software. Just grab your audio files and drop them right into the workspace. Once they're in, you can start designing your haptic feedback right away.
Importing your sounds is as easy as dragging and dropping them into the software. Just grab your audio files and drop them right into the workspace. Once they're in, you can start designing your haptic feedback right away.
2. Automatic Haptics Creation:
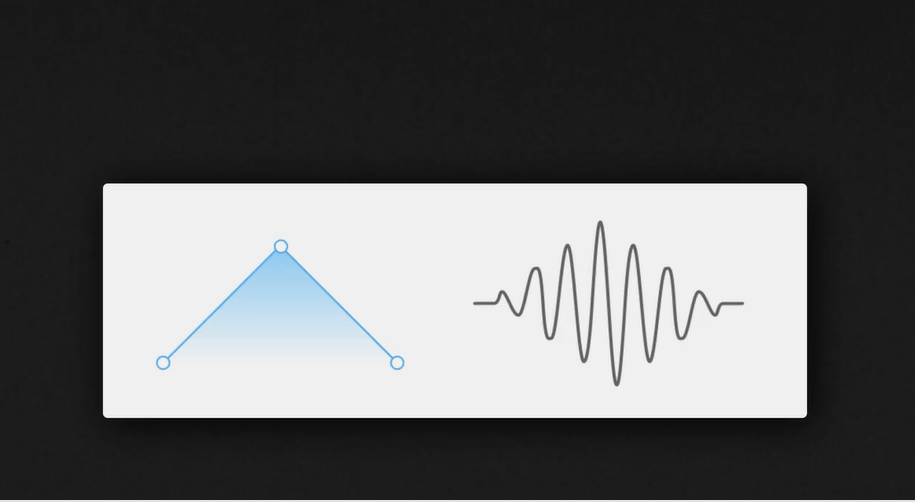
One of the coolest features of Haptics Studio is its ability to automatically create haptic effects based on your audio. The software analyzes your sound files and generates haptic patterns that match the rhythm and intensity of your audio. This means you can quickly develop immersive feedback without starting from scratch.
One of the coolest features of Haptics Studio is its ability to automatically create haptic effects based on your audio. The software analyzes your sound files and generates haptic patterns that match the rhythm and intensity of your audio. This means you can quickly develop immersive feedback without starting from scratch.
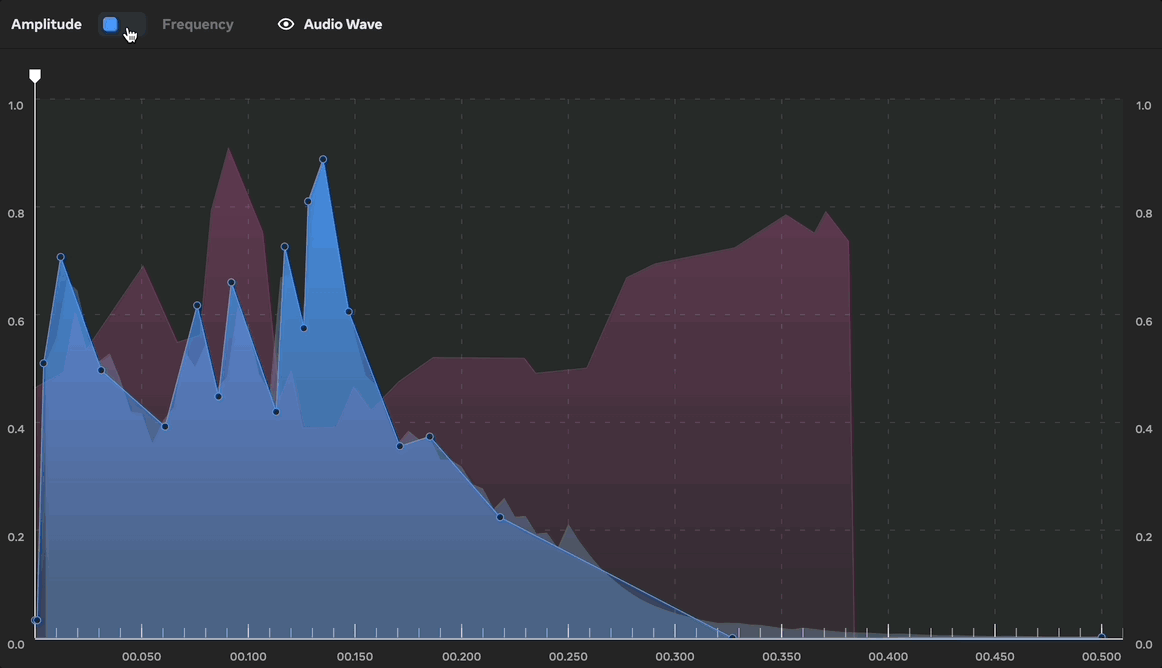
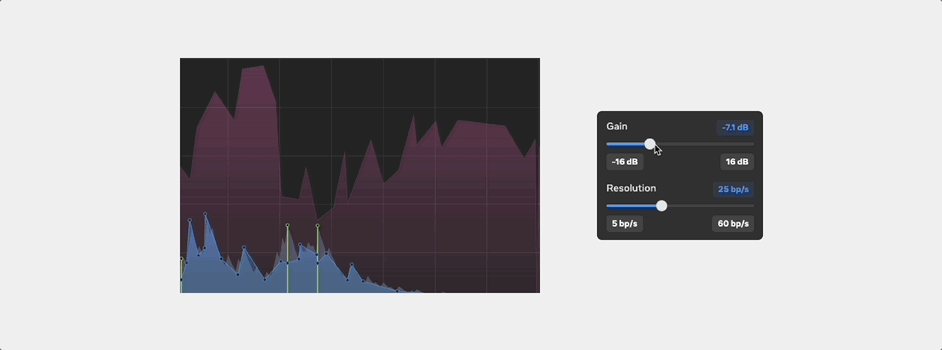
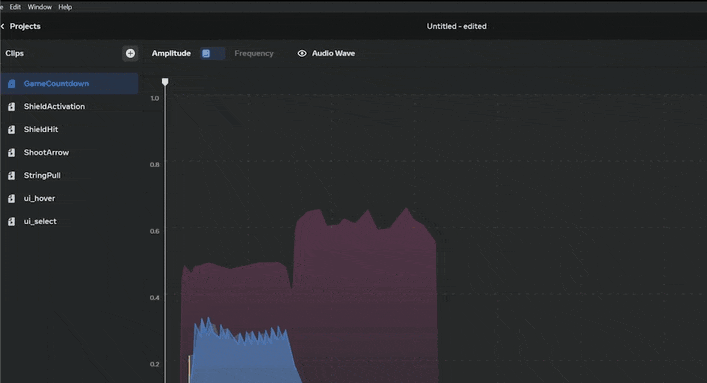
3. Switching Between Amplitude and Frequency:
You can easily switch between amplitude (how strong the vibrations are) and frequency (how fast they vibrate). Just toggle between these settings in the interface to fine-tune the sensations your users will experience.
You can easily switch between amplitude (how strong the vibrations are) and frequency (how fast they vibrate). Just toggle between these settings in the interface to fine-tune the sensations your users will experience.
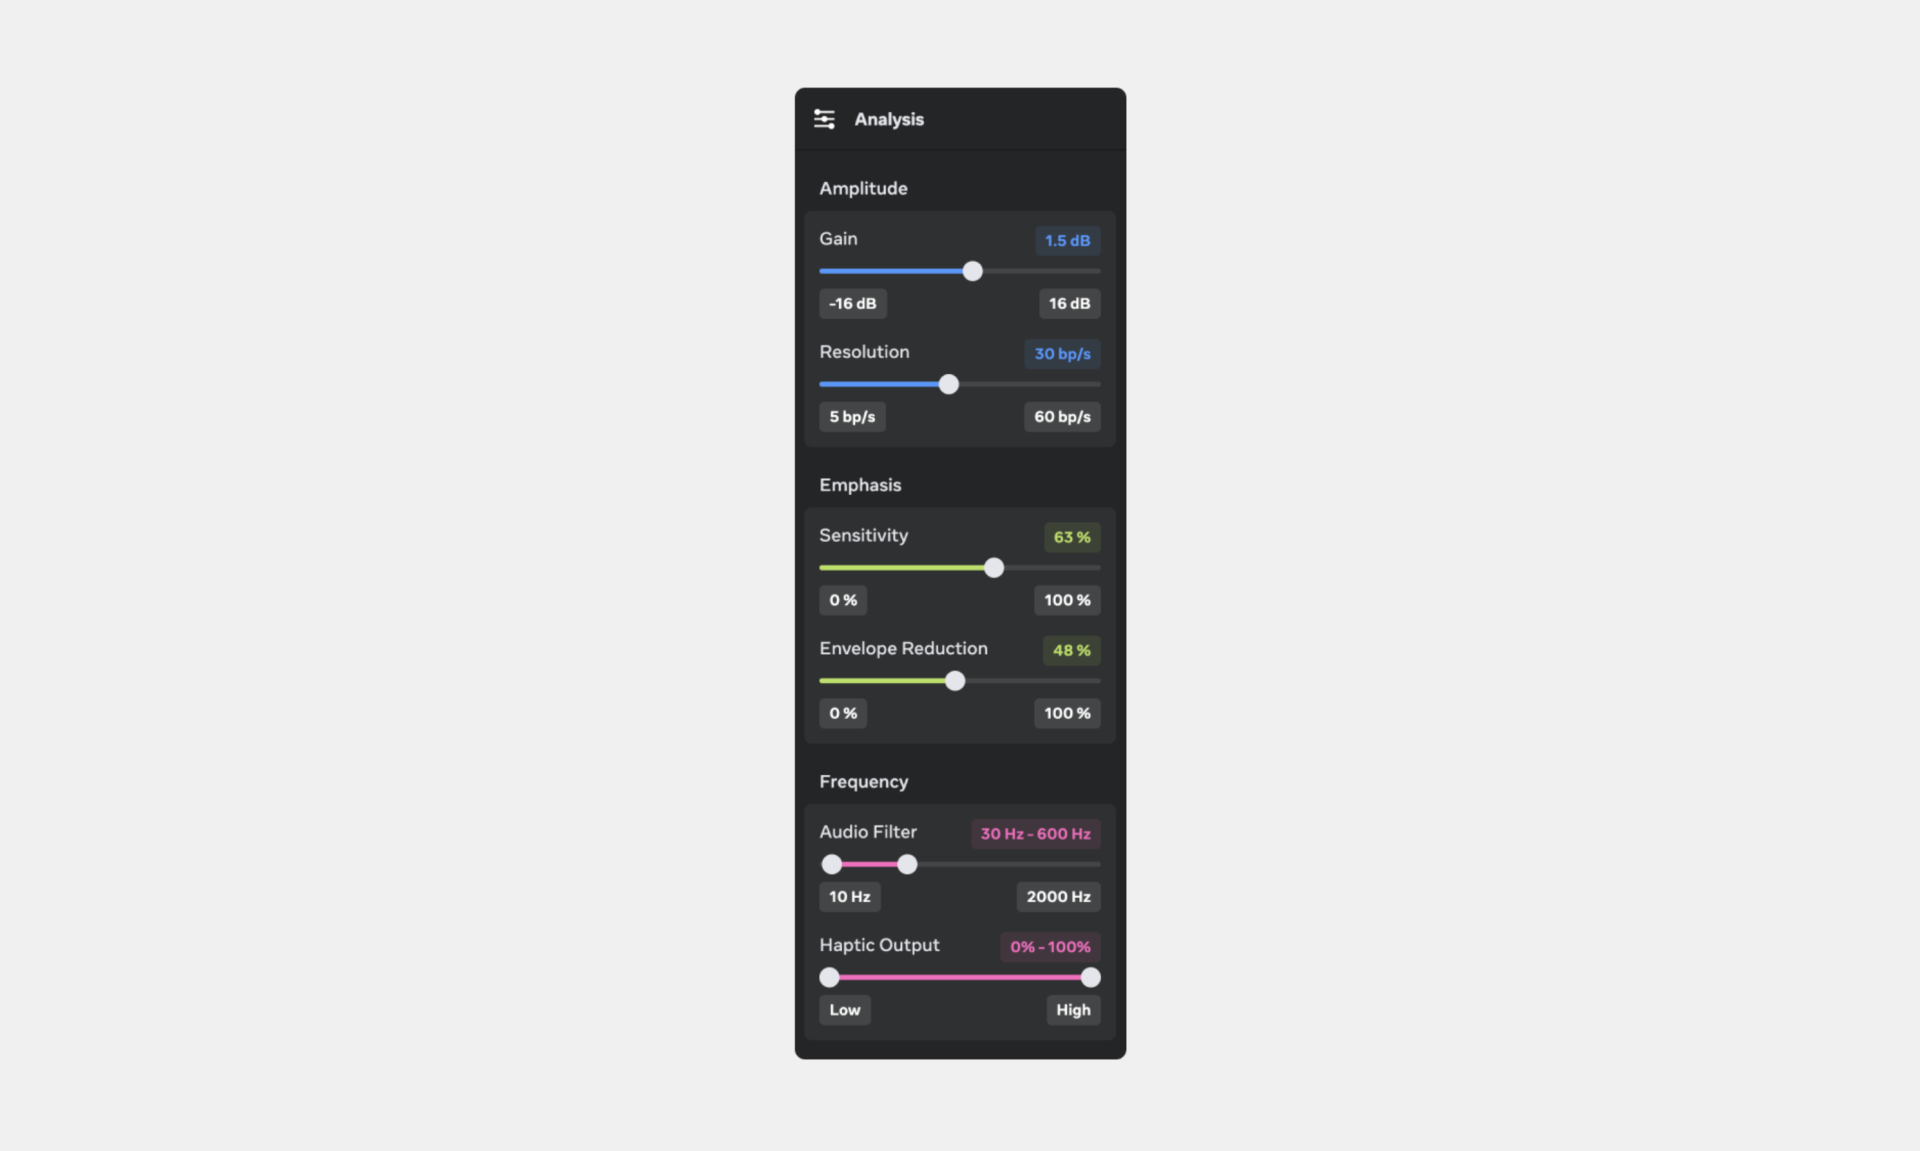
- Editing Haptics with Sliders and Manual Adjustments
-
Customizing your haptic feedback is super intuitive. You can use the sliders to adjust the parameters like amplitude, frequency and emphasis of the entire clip.
-
Want more control? You can also drag the points manually to get your haptics exactly how you want them. This hands-on approach lets you tailor every detail to fit your creative vision.
-
- Testing Haptics on Your Controller
- Once you've designed your haptic effects, it's time to test them out! Simply press the B/Y button on your controller to feel the vibrations in real-time.
- Real-time auditioning helps you make sure each haptic effect is perfectly timed with your visual and audio elements before you export them for integration with Unity or Unreal Engine. This way, you can ensure everything feels just right when people experience your work.
Key Haptic Concepts
Understanding these fundamental concepts will help you design haptic feedback that truly resonates with users:
Understanding these fundamental concepts will help you design haptic feedback that truly resonates with users:
Amplitude: The Strength of Vibration
- Amplitude determines the intensity of the haptic feedback, much like the volume control on your device. A higher amplitude delivers robust vibrations, ideal for simulating intense actions like explosions, while a lower amplitude provides gentle cues for subtle interactions like button presses.
Frequency: The Speed of Vibration
- Frequency refers to the rate of vibration, measured in Hertz (Hz). Higher frequencies feel like a quick buzz, suitable for alarms or rapid feedback, while lower frequencies offer a deep rumble, perfect for simulating heavy impacts.
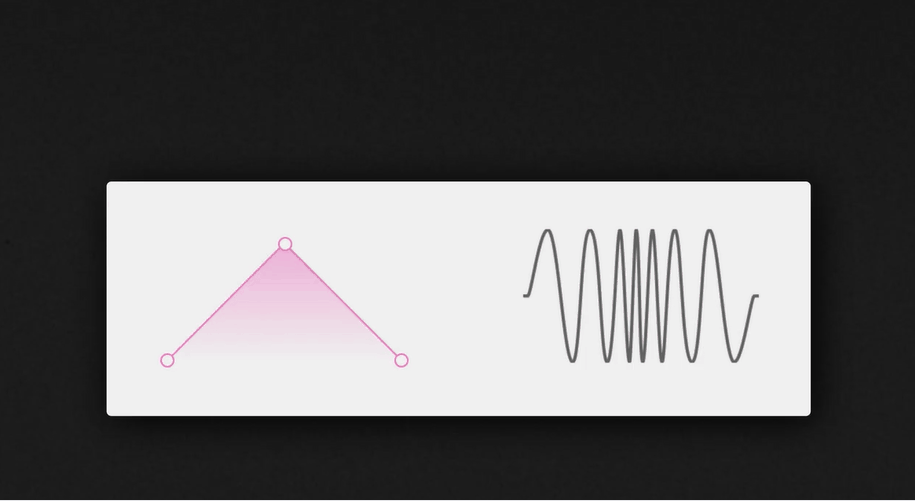
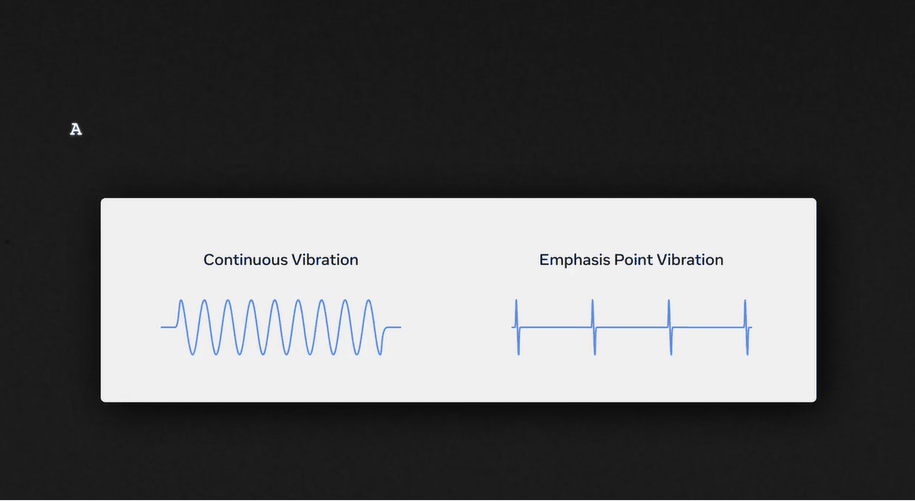
Emphasis: Highlighting Key Moments
- Emphasis adds intensity at specific moments, drawing attention to significant interactions. It's the exclamation point in your feedback pattern, enhancing experiences like the impact of a landing or the collision of objects.
Exporting Haptics Files
- How to export:
- Select the clip(s): Choose the clip or clips you want to export in the clip list.
- Go to File > Export Selected or click the ‘Export’ Button at the bottom of the clip list.
- Choose file format:
- For Unity or Unreal Engine integration with Haptics SDK Select
.haptic. Mainly for Quest and other PCVR Headsets - For iOS integration, select
.ahap. - For platforms that support audio waveforms, choose the .wav file format. Mainly Pico and PSVR
- For Unity or Unreal Engine integration with Haptics SDK Select
Integrating with the Haptics SDK
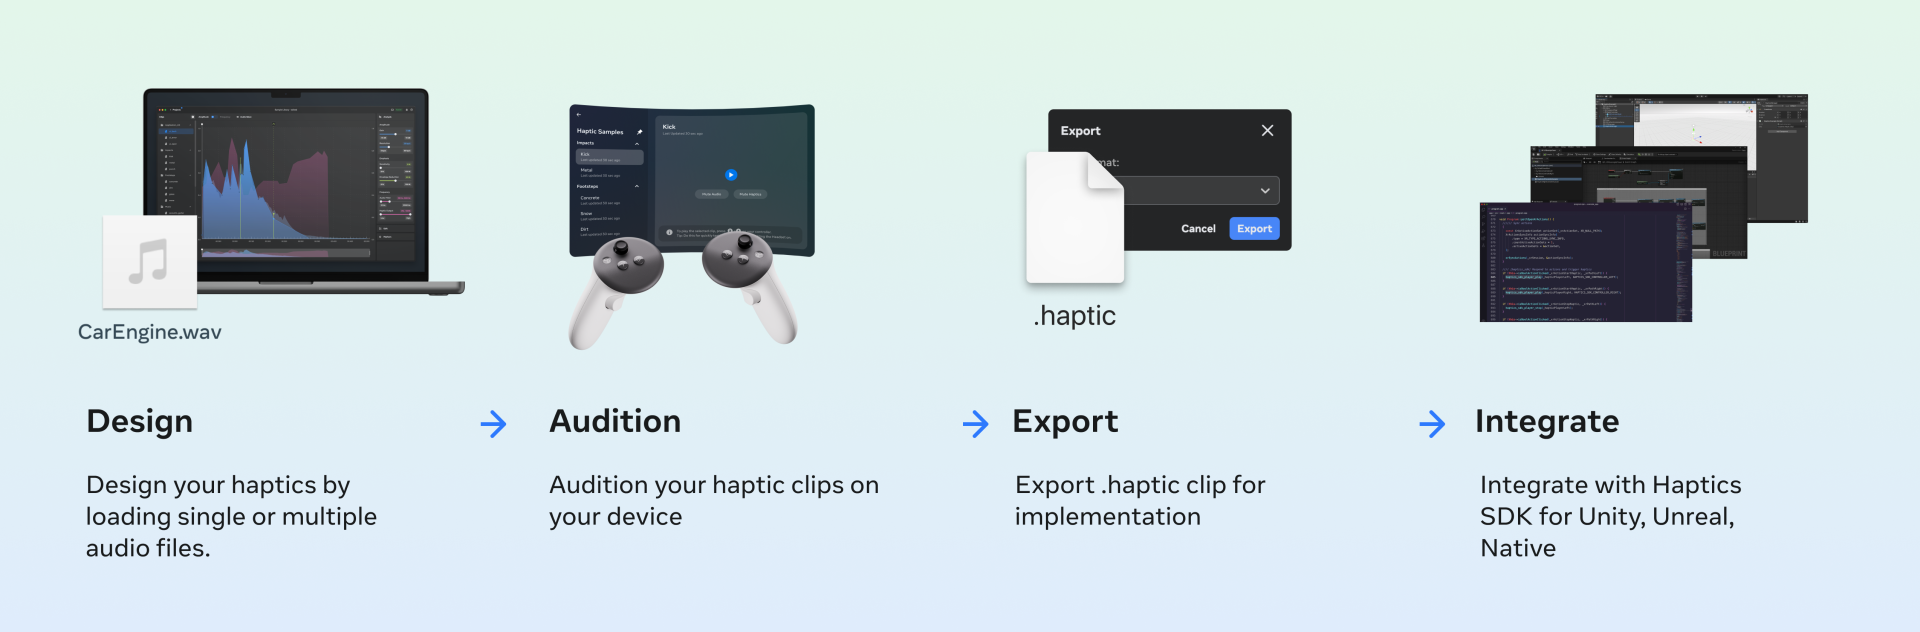
Once your designs are ready, integrate them using the Haptics SDK, which supports a variety of platforms and includes features like playback priority, looping, and modulation. This allows for dynamic and responsive experiences, with full OpenXR support ensuring seamless cross-platform deployment.
Get Started and Experiment
Explore the tutorials, experiment with Haptic Studio, and see what you can create. If you have questions or face challenges, reach out to us on discord here. We are here to help you make the most of your XR creations.
Conclusion: Embrace the Power of Haptics
Integrating haptics isn't just a technical upgrade—it's a creative opportunity to redefine immersion. This is your chance to experiment and push the boundaries of what your XR experiences can be. Each vibration you design can transform how users interact with your creations. So go ahead, have fun with it, and see where your creativity takes you!
Checkout the next blog where we'll have a more detailed look of integrating haptic feedback into Unity and build it for cross-p-latform

Created with