This blog will help you get started with creating VR games using XR Interaction Toolkit in Unity. Also, helpw you setup Unity for using it with HTC Vive or any other OpenXR supported devices.
The latest XR Manager Plugin does not come with OpenXR support. It has to be downloaded separately and installed, which is actually not that difficult.
The steps mentioned in section 1 and 2 of this post is derived from this YouTube tutorial. If you have the XRInteraction Toolkit and the XRController set up already, you can jump to section 3 which shows how HTC Vive can be used with the OpenXR plugin.
This section explains the steps that are to be taken to downloading and import XR Interaction Toolkit into Unity.
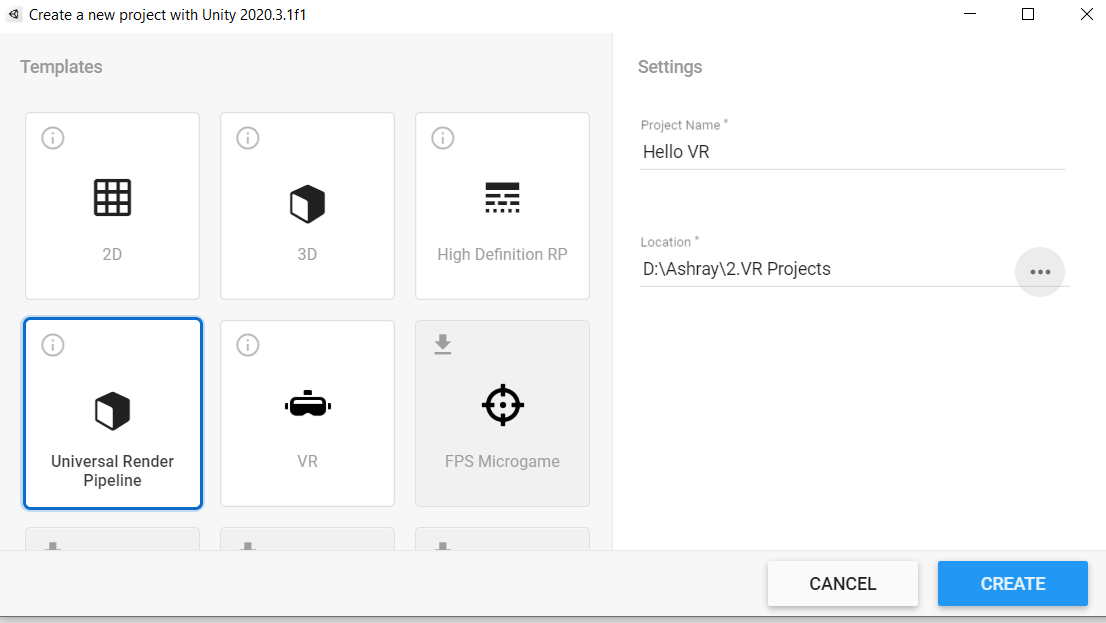
- Open Unity hub and create and a new Project, I am calling it "Hello VR". It's better to use the Universal Render Pipeline as the template as the graphics will look better on build when compared to 3D template, however you can choose 3D as well.
2. Unity will open with a default scene. You can either use the same scene or create a new scene to work with. To create a new scene, select the scene folder in Project window, right click on it, Create → Scene. Rename the scene and double click on it to open.
3. OpenXR and XR Interaction toolkit plugins are currently in preview state, which means that it is not a full release and therefore bugs can still be present. Furthermore it is placed under 'Preview Packages' in the Package Manager. As of now you have no other option but to use it. To view the preview packages, see the following steps:
Click on Windows → Package Manager → select the setting icon⚙ → Advanced Project Setting → Check the box for "Enable Preview Packages" and select I understand. It’s just a warning that it’s a preview package and not yet released so it could potentially have bugs.
4. To import the XR Interaction Toolkit, open package manager → select Unity Registry from the drop-down → search for "XR Interaction Toolkit" or scroll down to find it.
Select that package → Click on See other versions → select 1.0.0-pre.3 and install it.
After installing a window will popup asking you to restart Unity, click on Yes to continue.
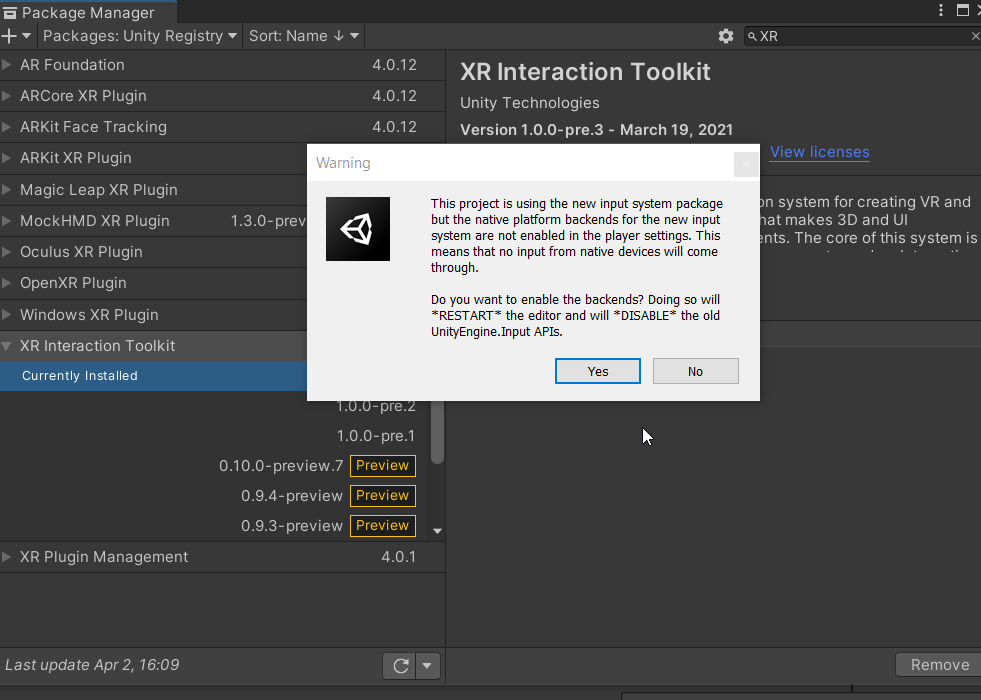
5. After Unity restarts, navigate back to XR Interaction Toolkit package in the package manager. Import Default Input Action and XR Device Simulator
This concludes the section 1. Next section is to setup the XR rig and other components to enable us to use VR controllers.
This section explains how the XR rig can be setup with the default key bindings. You have the option to manually assign it but that is a tedious and time consuming process. So to begin with, it's recommended to use the default setting and later on you can customize the controls.
- In the Project window navigate to Samples → XR Interaction Toolkit → 1.0.0-pre.3 → Default Input Actions. Here select "XRI Default Left Controller" and from the inspector window click on Add to ActionBasedController default. Next, select "XRI Default Right Controller" and perform the same action once again.
2. To make sure we get the default values as preset, select File → Build Settings → Player setting → Preset manager, under ActionBasedController type in the filter "Left" and "Right" for the respective presets.
3. Delete the Main camera from the Hierarchy. Right-click on the hierarchy window → XR → select Room Scale XR Rig (Action-Based). If you look at the child of the XR Rig you will notice that, both the Left and the Right controllers come with default values now.
4. Select the XR Rig and add the component Input Action Manager, change the Action Assets list size to 1. In the project window navigate to Samples → XR Interaction Toolkit → 1.0.0-pre.3 → Default Input Actions. Select the "XRI Default Input Actions", drag and drop it in the Input Action Manager component.
5. Add a 3D plane to mark the play area, it’s not necessary but its helps with visualization.
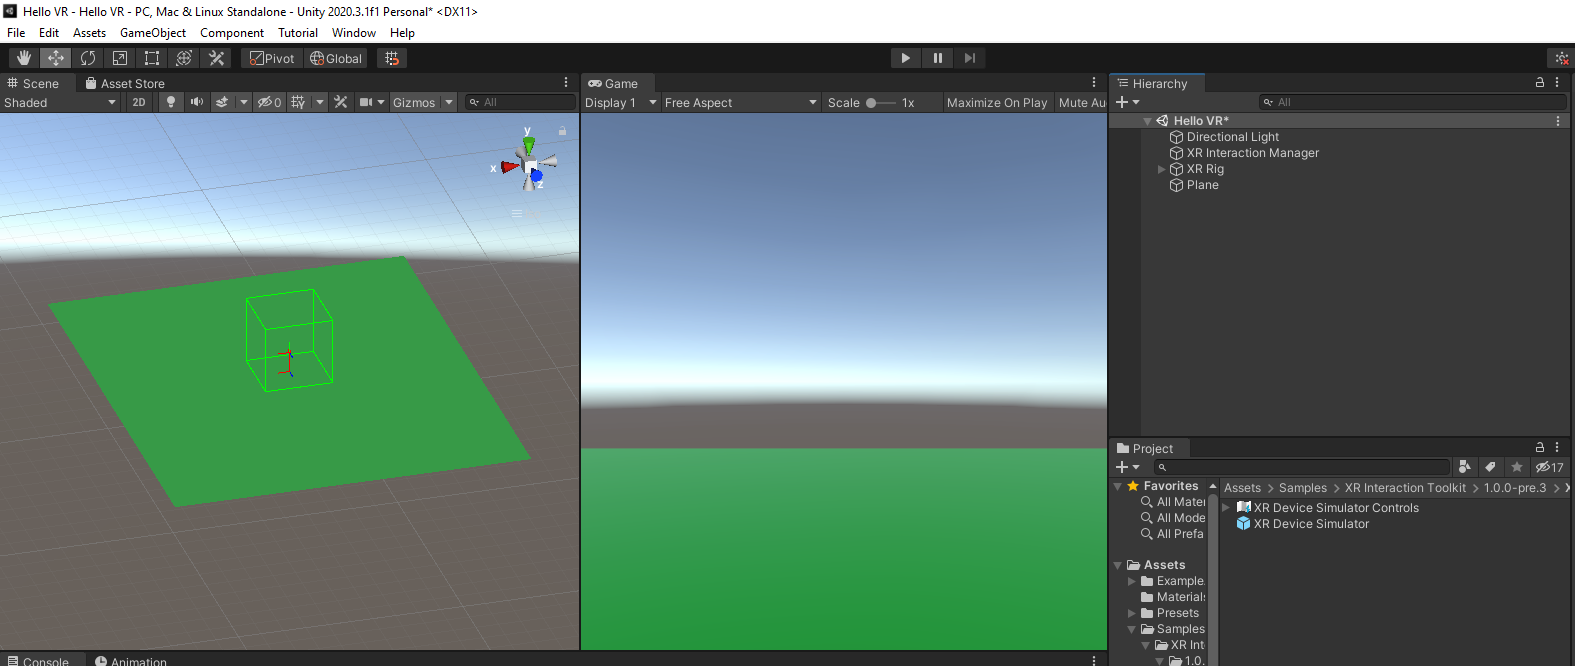
This completes the basic setup for developing VR projects. The next section shows the setup of OpenXR
The OpenXR plugin was released recently for Unity version 2020. Earlier, developers had to use the older Unity versions for it to be compatible with HTC Vive.
- To download and install OpenXR plugin, Click on
Windows → Package Manager → Install OpenXR plugin
2. Navigate to File → Build settings → Player settings → XR Plug-in Management and check the box ☑ for OpenXR.

3. In the same window, click on features under OpenXR and check the box ☑ for HTC Vive Controller Profile.
💡 Note : If you scroll down in the list of features, there is an option of Valve index. I haven't tested that, but if you are an Index user do check that out. It should definitely work.

4. The last step is to fix a few setup errors. Select the XR Plug-in Management → Click on the exclamation mark → Select the option Fix All.
With that done, HTC vive and its controllers can now be used to test the scene using play mode in Unity.
The Open XR is already stable. Even though it's in preview version, I didn't face any bugs so far. I'm not sure if this plugin supports other PC VRs, that's something you will have to find out by yourself. Let us know in the comments if something worked / did not work for you.
🎉 With that, we have finished setting up Unity to create our VR projects.

