In this blog, you’ll see how to configure your Ready Player Me Avatar in Unity during runtime. If you don’t know about Ready Player Me or if you want to know how to create your avatar, then you should definitely watch this video before continuing with this blog post.
Want to watch the video instead?
Setting up the Unity Project
Let’s begin by creating a new Unity Project and importing the Ready Player Me SDK.
- Create a new project with Unity version 2019.4.11f1 and later.
- Download the latest version of the Ready Player Me SDK.
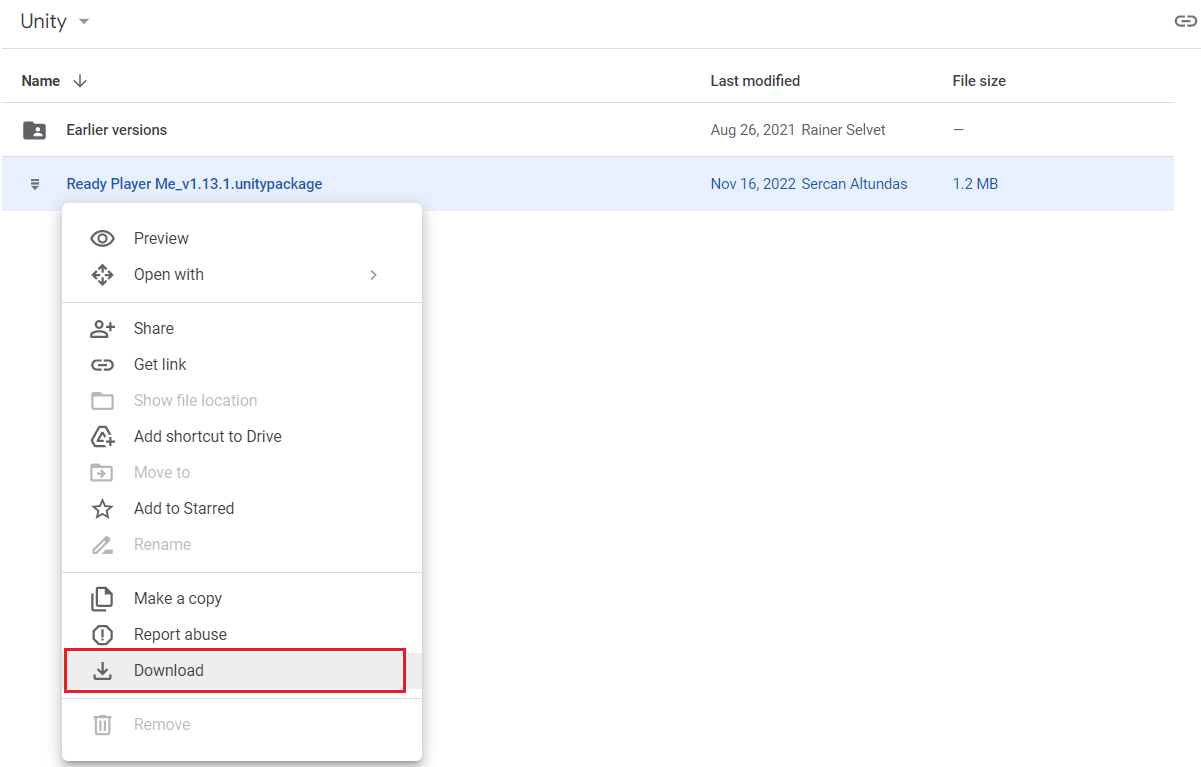
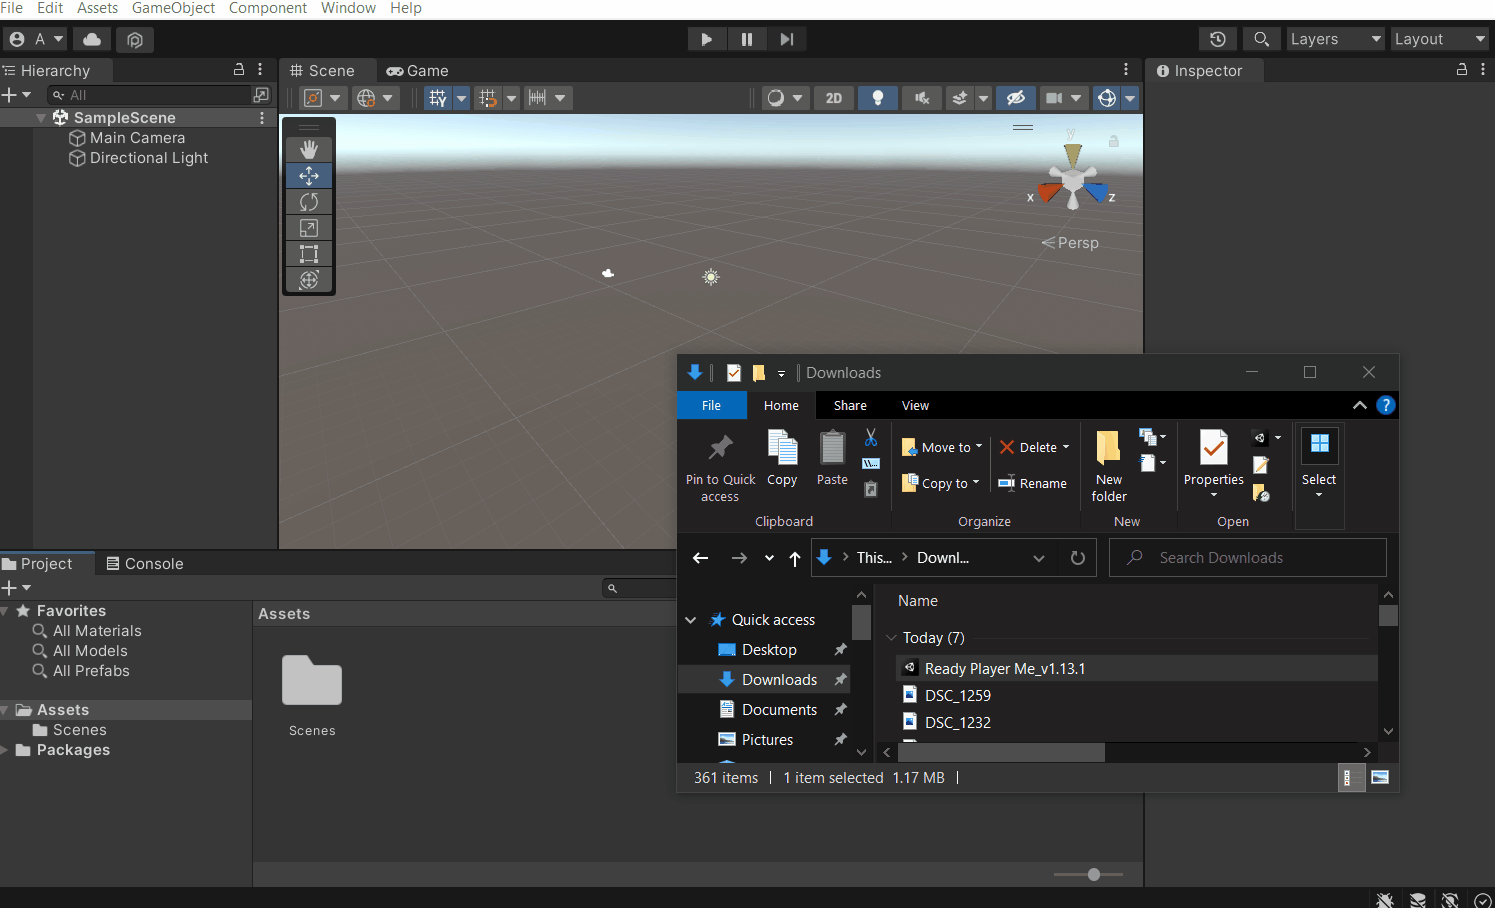
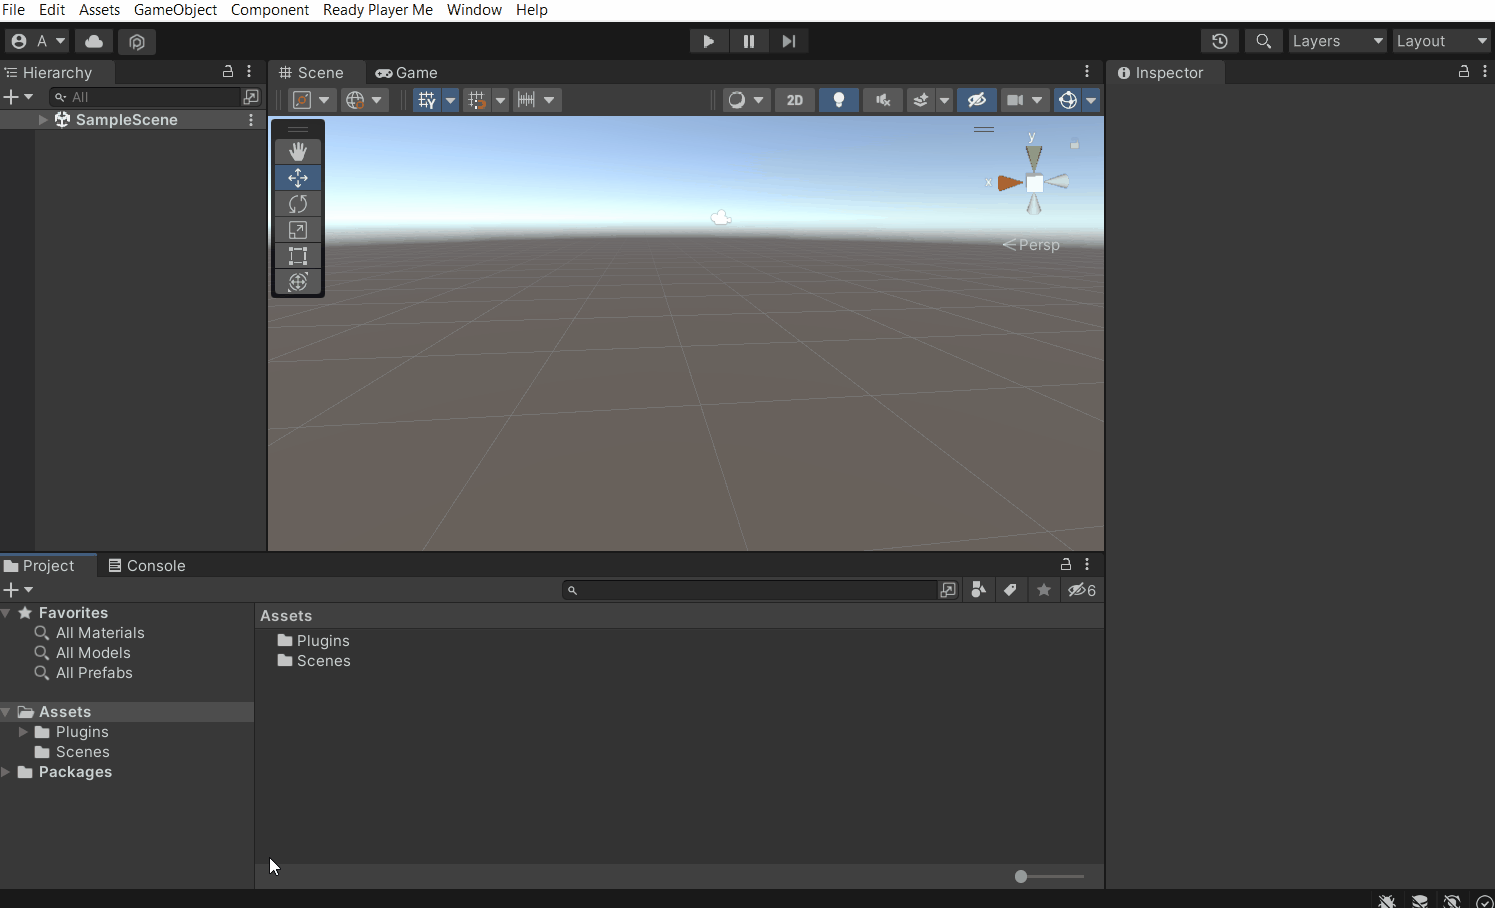
- To import it into Unity, drag and drop it into the Project window → uncheck the Newtonsoft Json folder as this would already be there in your Unity project → click on Import.
Alright now that you have the project set up with Ready Player Me SDK, let’s see how to use the Avatar Configure file.
Creating and Using Avatar Configure File
Avatar Config Files are scriptable objects that you can create and use to load an avatar in the configuration defined by you.
- To create an avatar configuration file, right-click in the project window Create → Scriptable Object → Ready Player Me → Avatar Configuration.
- Edit the configuration as per your needs, for example, you can set the Mesh Lod to Medium, change the Pose to T Pose, include Texture Atlas and adjust the Texture Size Limit as well.
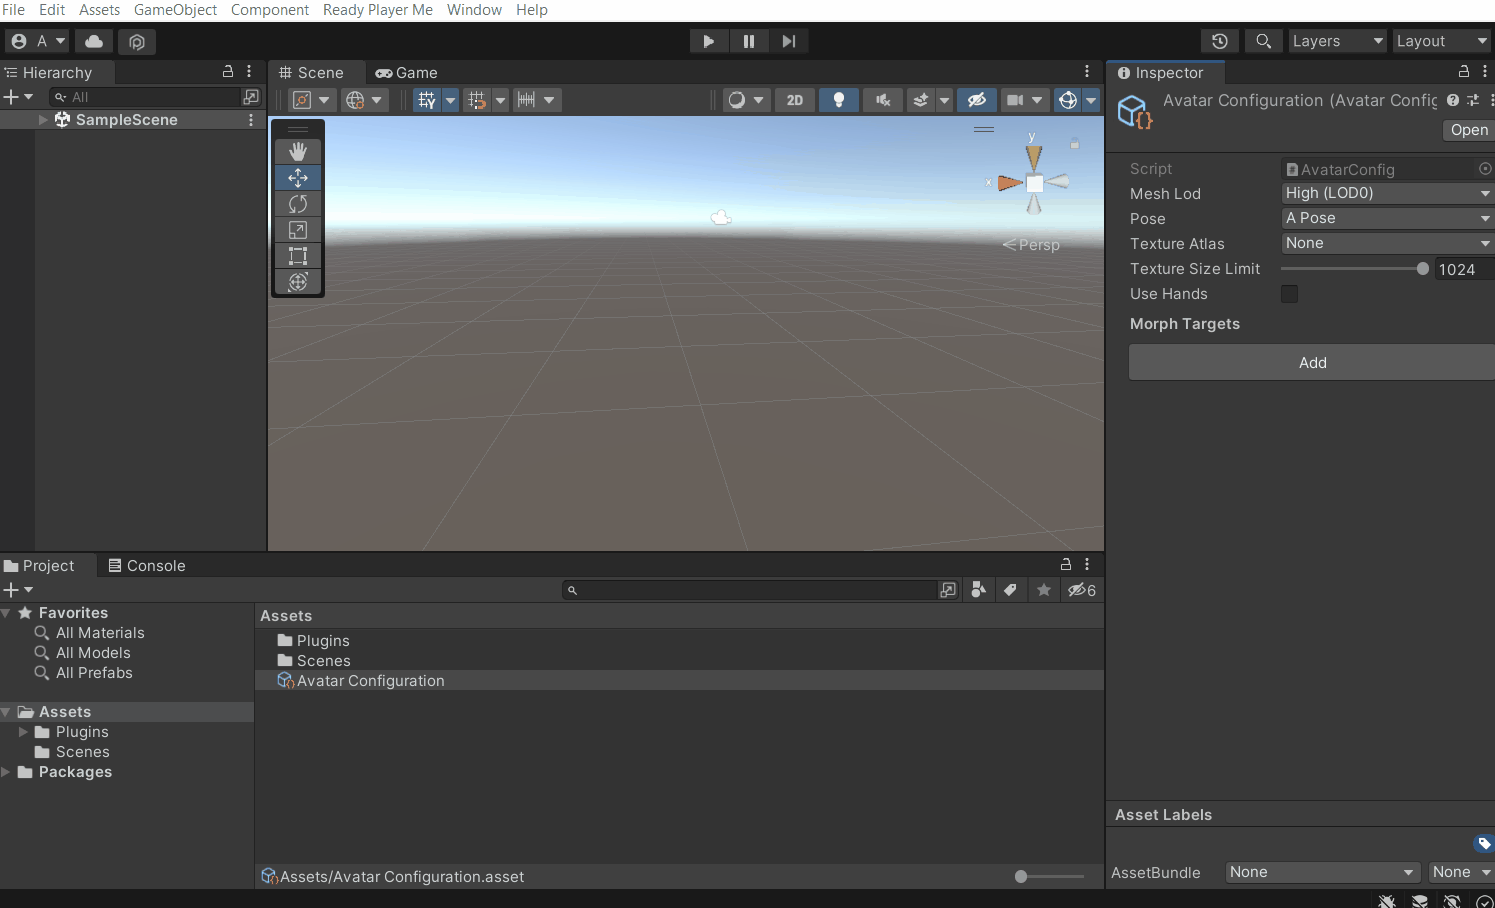
- To use this configuration file created by you, navigate to Ready Player Me → Settings, this will open the Ready Player Me Settings window. Now, all you have to do is drag and drop the Avatar Configuration file into the Avatar Config parameter.

To test this,
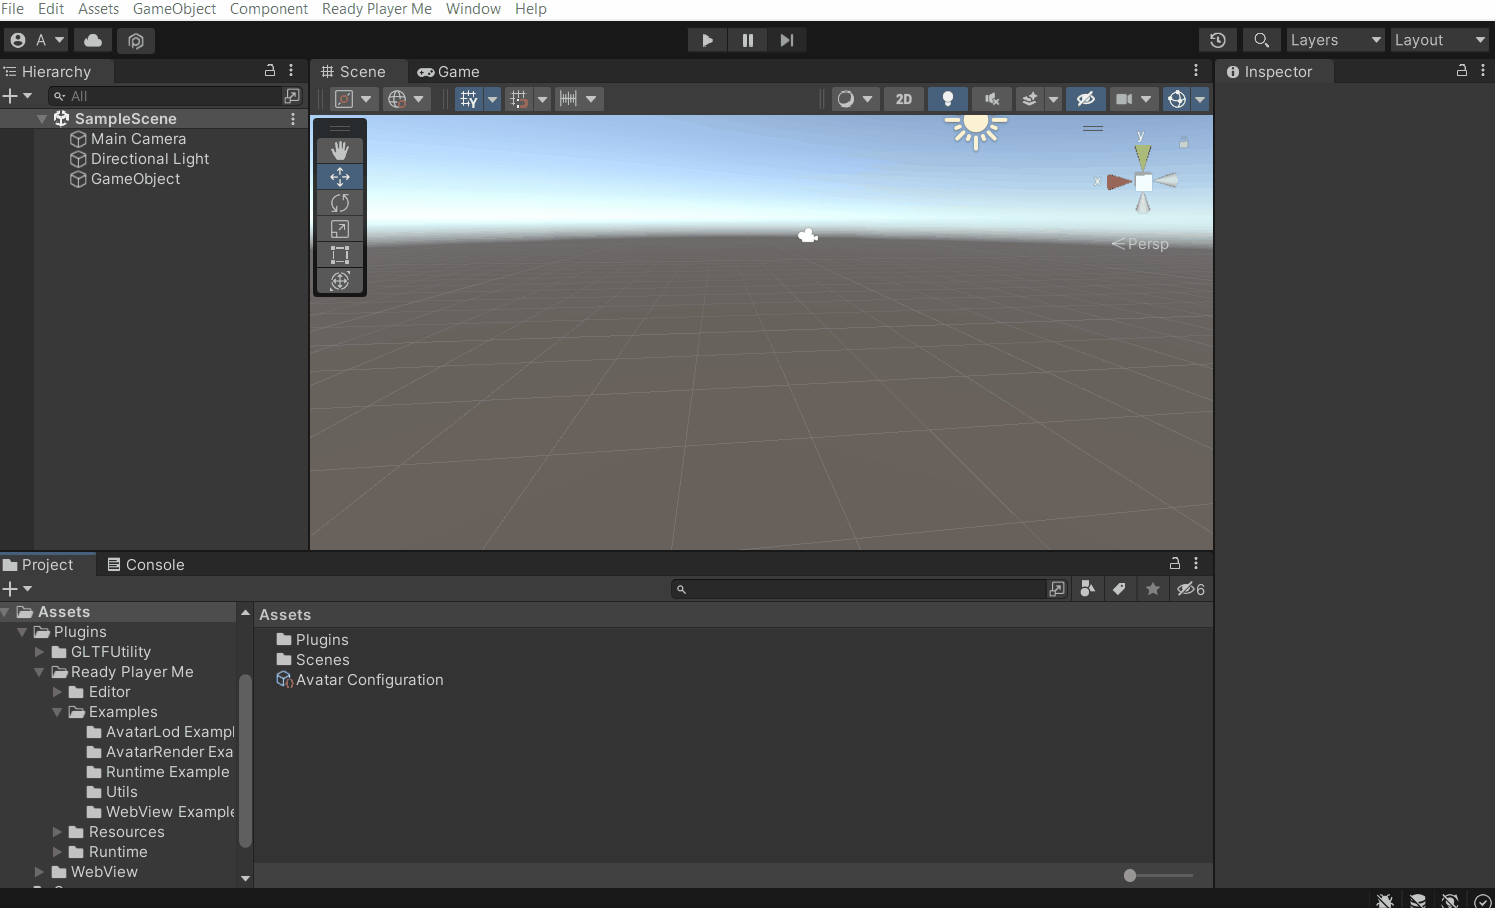
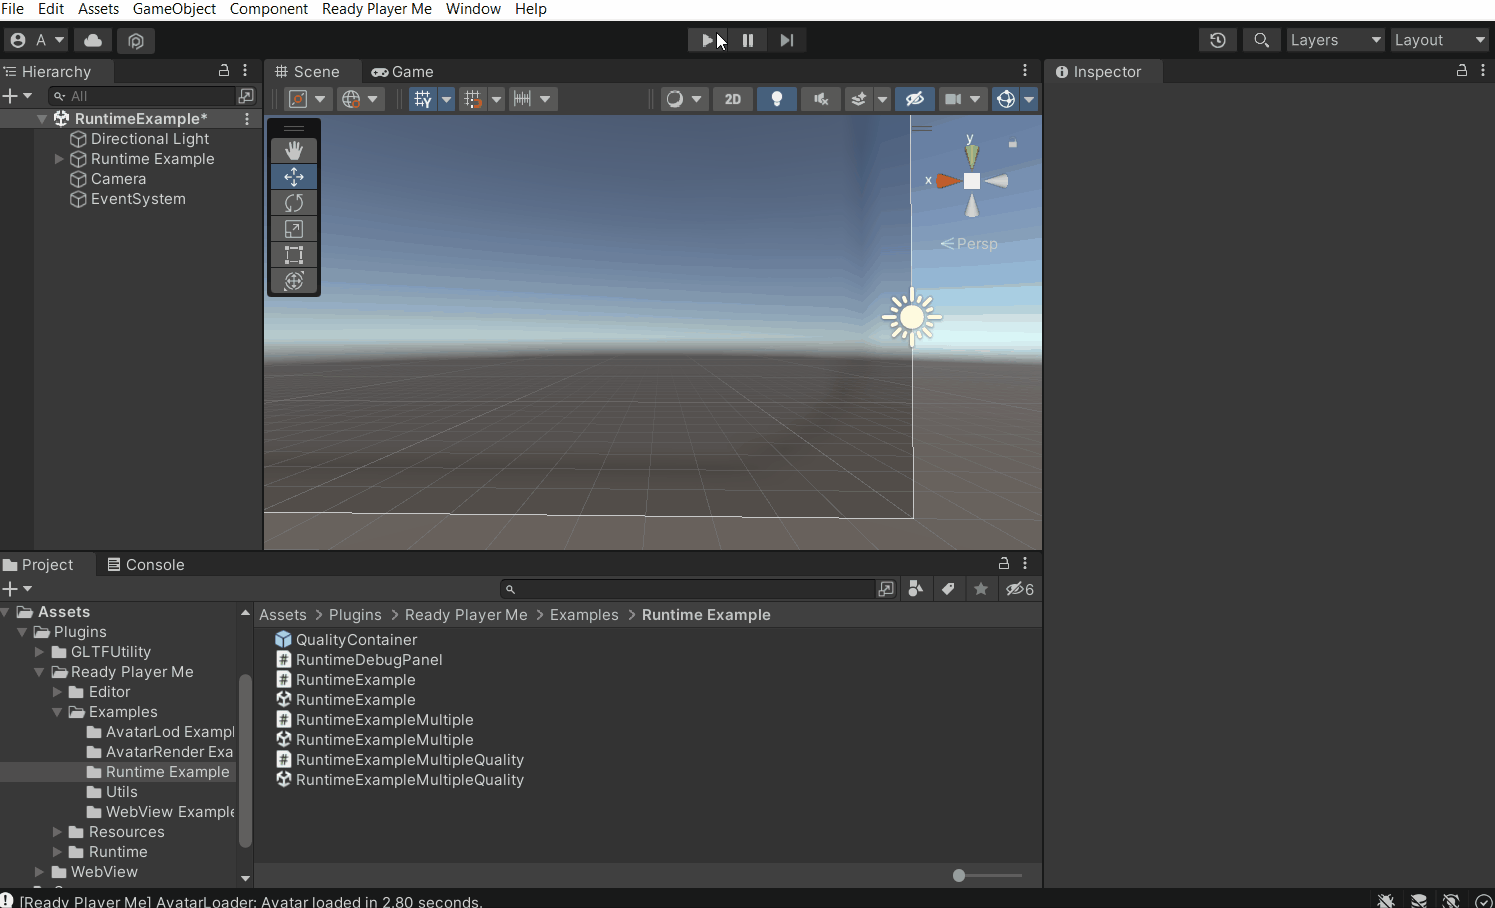
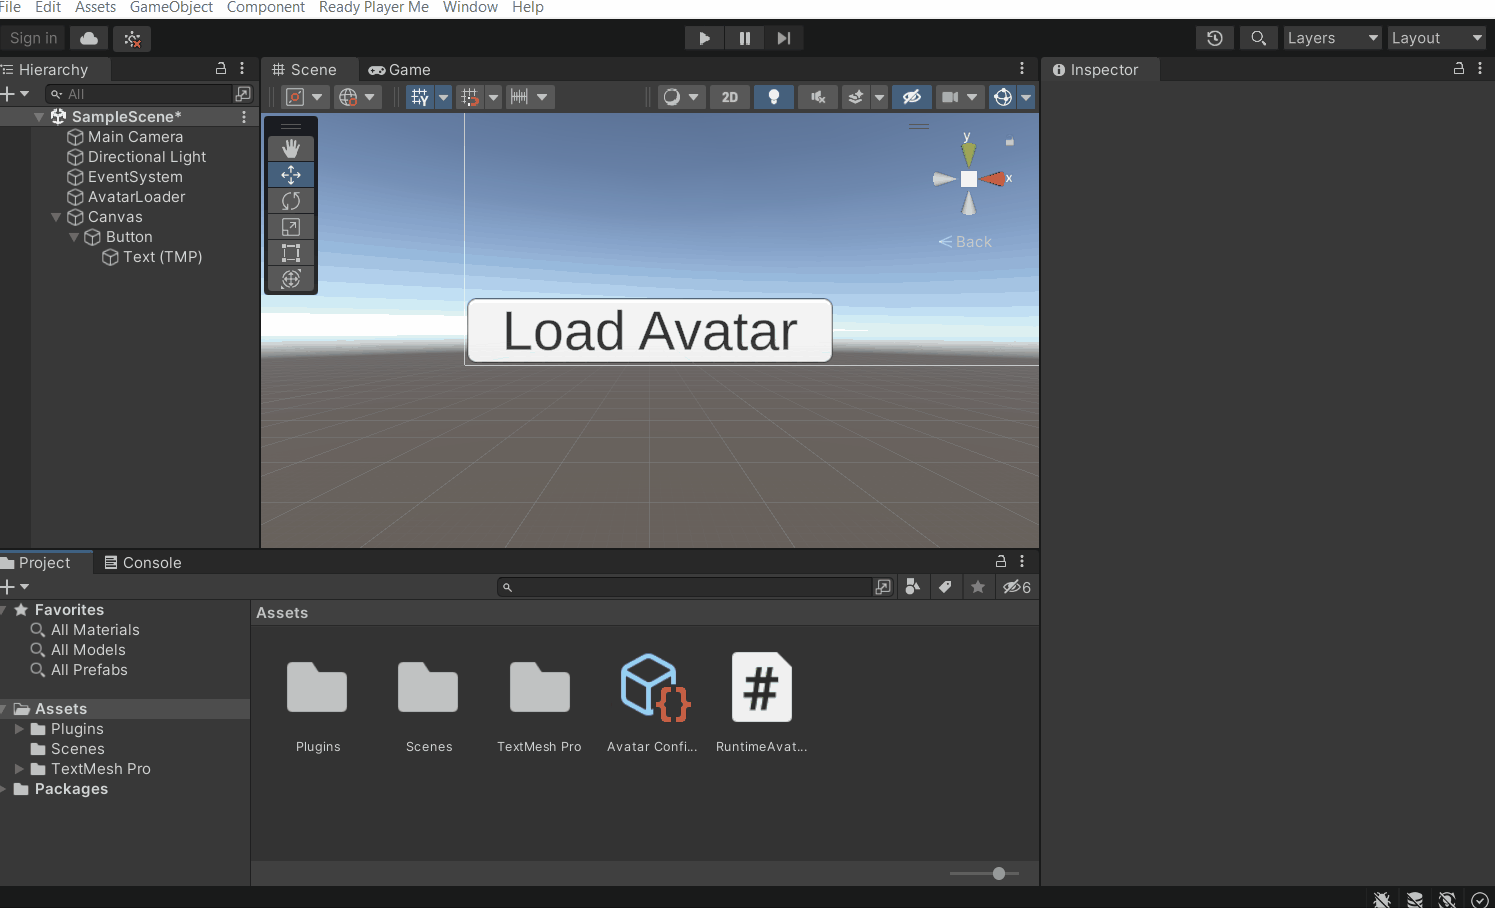
- In the Project window, search for RuntimeExample scene or you can find the same by navigating to Plugins → Ready Player Me → Examples →Runtime Example. Then, open the scene.
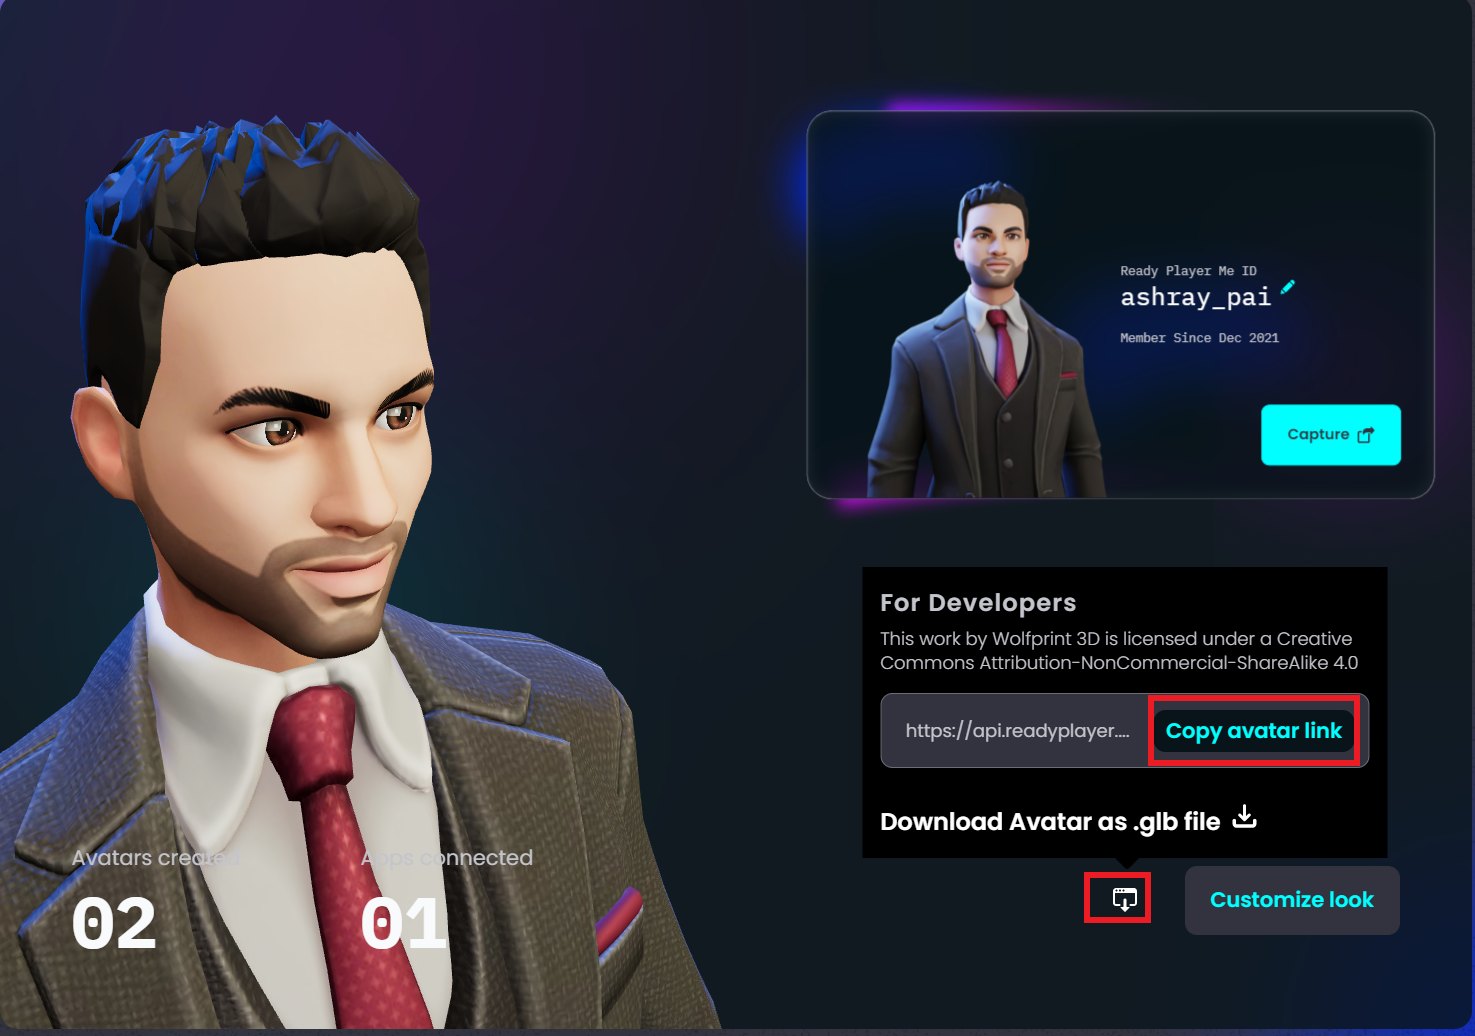
- Next, copy your avatar link from the Ready Player Me hub.
- Then, go back to your Unity project. Select the RuntimeExample GameObject and paste the link into the Avatar URL parameter.
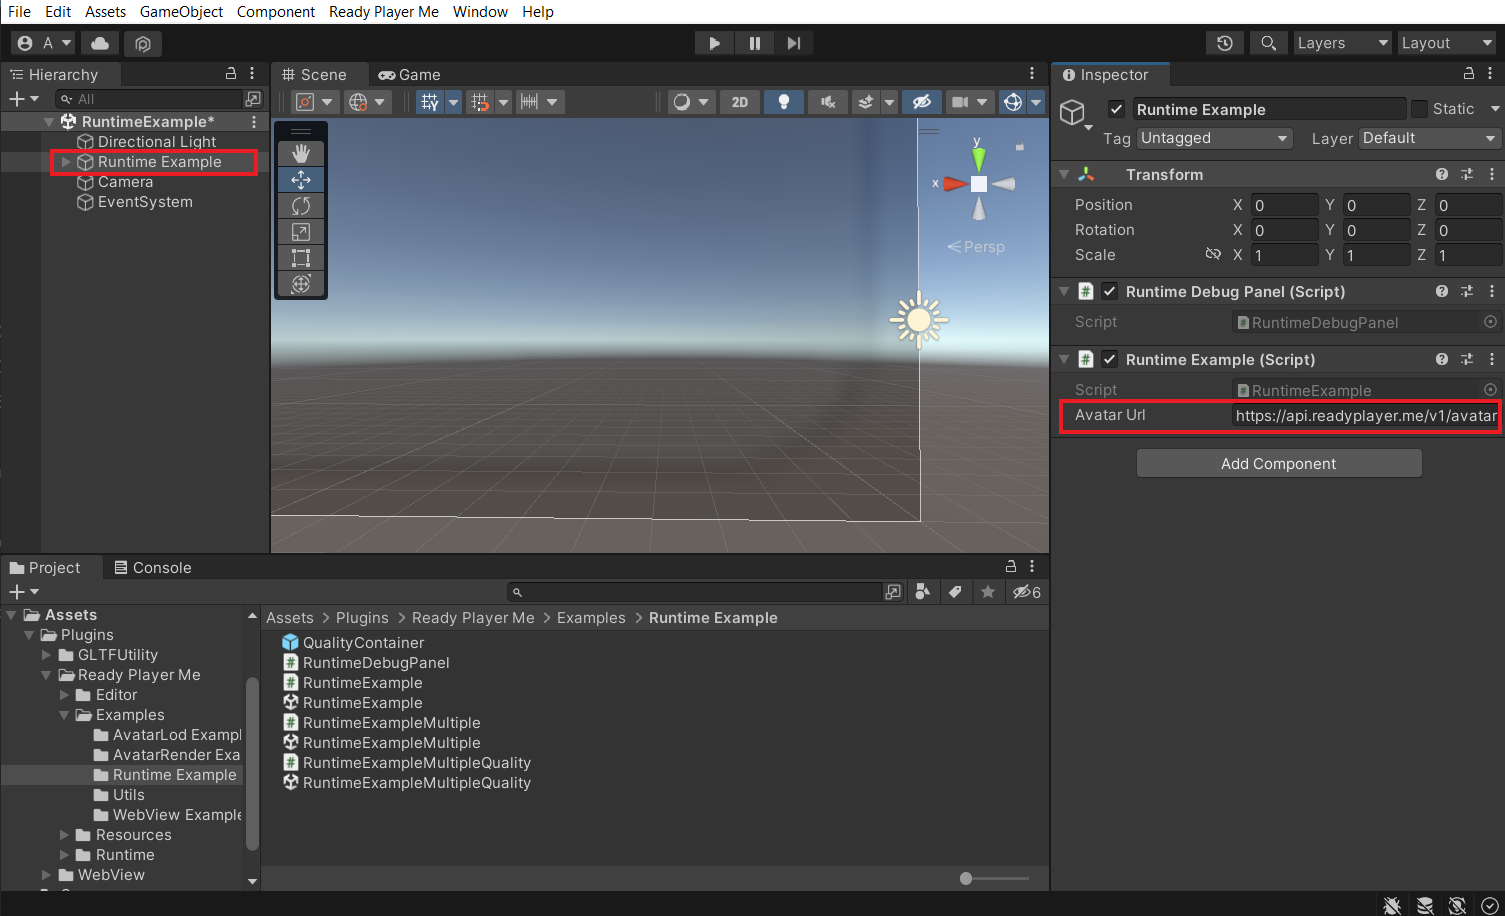
- Now when you press the play button, the avatar will load with the same configuration as you had defined in the Avatar Configuration file.
With that, you have learnt to load an avatar using the avatar config scriptable object. But what if you want to load an avatar at runtime? That’s exactly what you’ll learn in the next section.
💡 This is a callout! Lorem ipsum dolor sit amet, consectetur adipiscing elit.
Loading Avatar at Runtime
There are two ways of loading Avatar at runtime. You can either create an Avatar Config file and use it to load an avatar or directly define it in the script. In this section, you’ll see how to load the avatar using the latter method.
Scripting
First, create a new C# script and name it as RuntimeAvatarLoader. Next, copy the following code into your script.
The script has a SerializeField where we need to provide the URL of the Avatar. On start, the script will create a new Avatar Config file and set it up as per the configuration written in the script. Only when the function LoadAvatar() is called, the script uses the URL to load the avatar into the scene.
Scene Setup
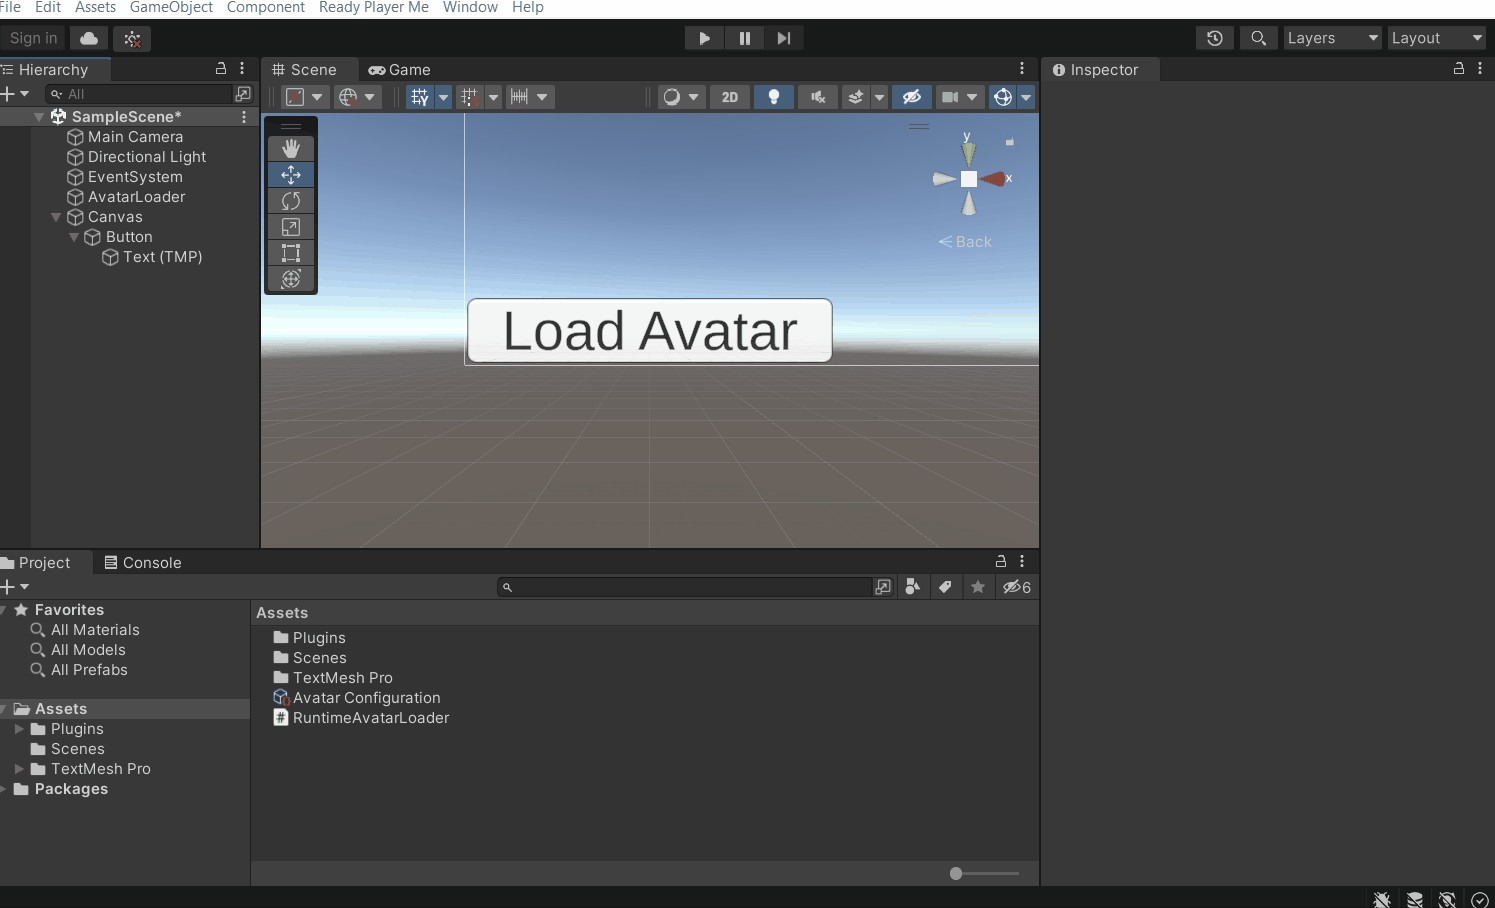
- Open the SampleScene, create an empty GameObject and name it AvatarLoader → add the RuntimeAvatarLoader script to it.
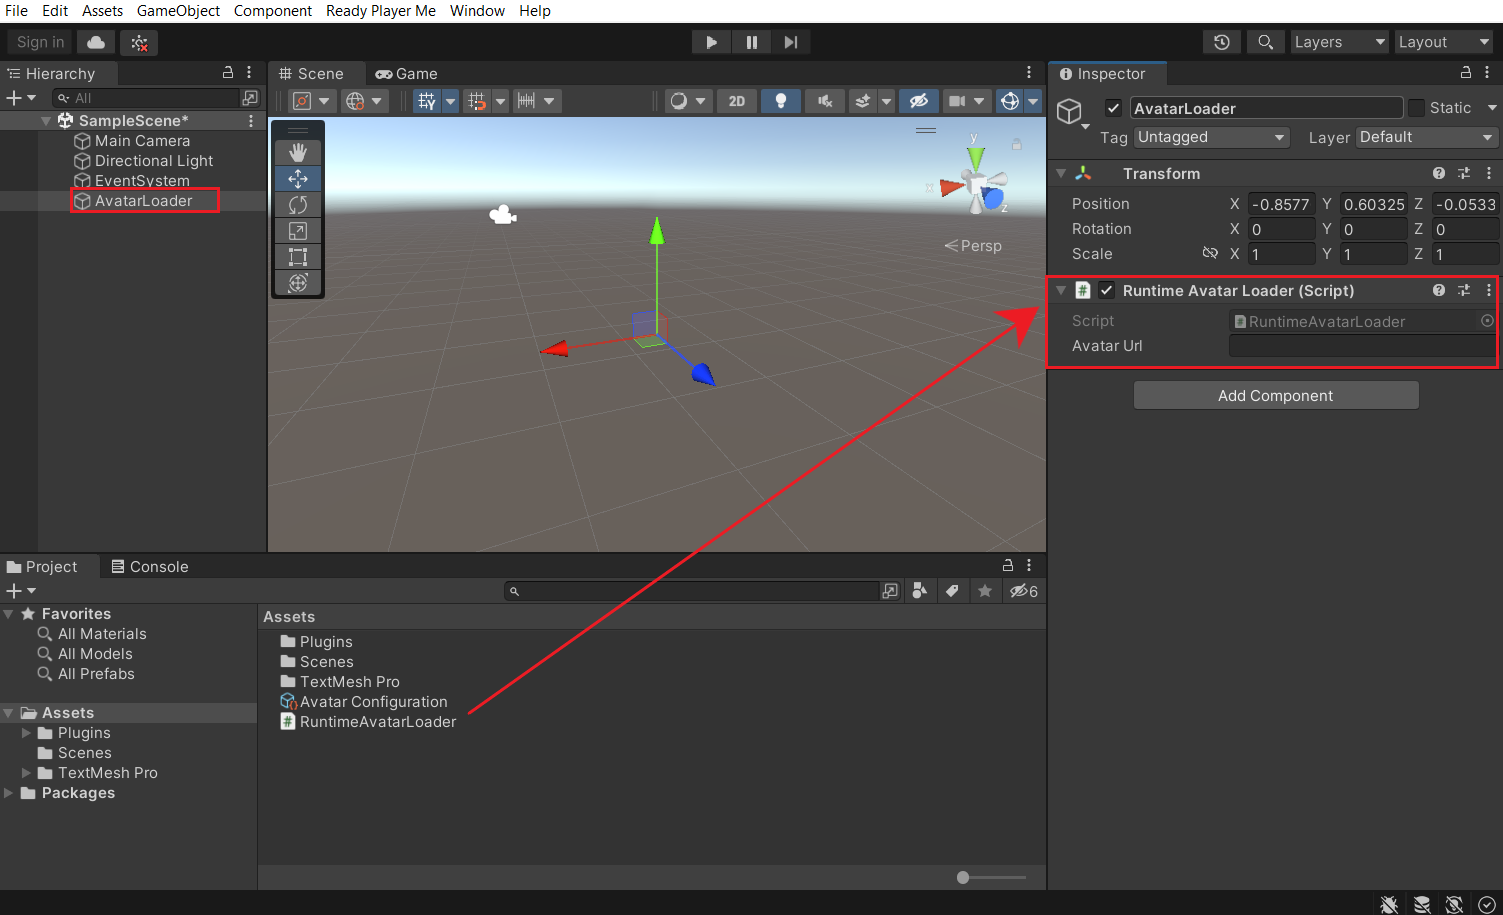
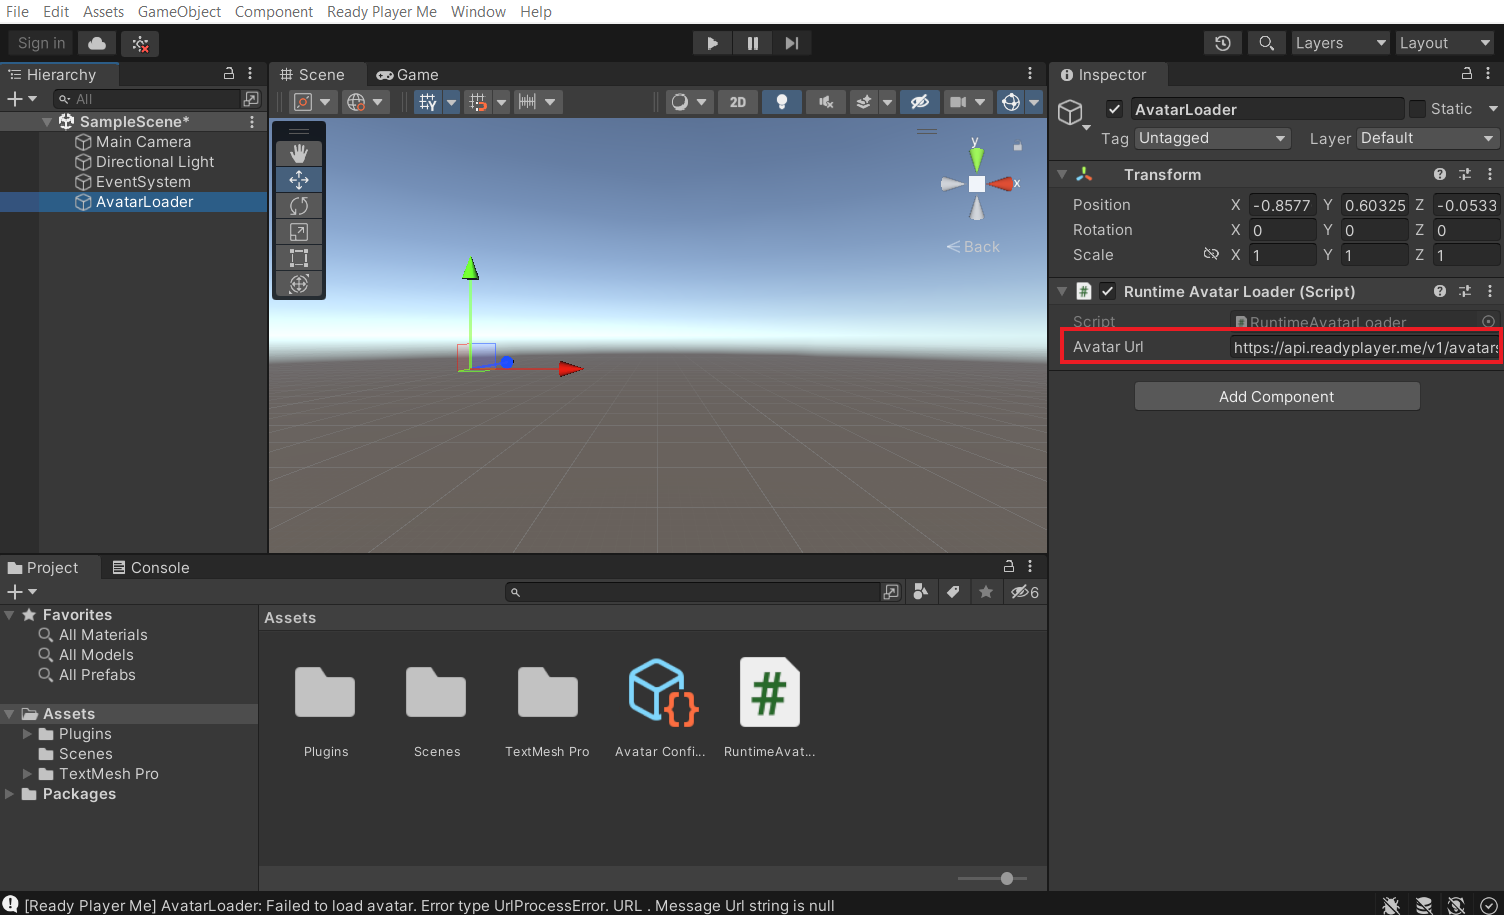
- Now go to the ReadyPlayerMe dashboard, copy the Avatar link and paste it into the Avatar URL field of the RuntimeAvatarLoader component.
- Then, add a UI button by right clicking on the Hierarchy window and select UI → Button TextMeshPro. Also, replace the button text with “Load Avatar”.
- Finally, select the Button GameObject → navigate to the Button component → under the On Click event, click on the Plus sign ➕ → drag and drop the LoadAvatar GameObject. From the drop-down select RuntimeLoadAvatar → LoadAvatar ().
Testing
To test this, all you need to do is press the Play button and then press the LoadAvatarUI button in the Game window.
With that, you were able to load the avatar at run time with a predetermined configuration.
Conclusion
Now that you know how to change the parameters of an avatar either by using the scriptable objects or via a script, you can create a dynamic experience for the users. Ready Player Me has also provided an example scene where the LOD of the avatar changes based on the distance of the camera from that avatar. This is really helpful when you have to optimize your game/experience. There are many more use cases for using the API during runtime, feel free to explore them.

Created with