Jan 2 • Ashray Pai

Building Location-Based AR Experiences with WebXR

WebXR has unlocked endless possibilities for creating location-based AR experiences.

By integrating Immersal VPS technology into the Zapworks Mattercraft tool, developers can create applications like pathfinding in malls, interactive games in parks, or industry-focused solutions such as overlaying BIM models.

This guide will walk you through creating a basic AR pathfinding experience using Zapworks Mattercraft and Immersal VPS integration.

YouTube

Want to watch the video instead?

Prerequisites

Before diving into development, ensure the following prerequisites are met:

  1. Immersal Developer Account:
    • Sign up for a free account here. The free plan is sufficient for prototyping, but the Pro plan (with features like spatial map editing and Polycam support) is recommended for large-scale projects.
       Use the coupon code ImmersiveInsiders for a free Pro license valid until January 31, 2025.
  2. Immersal Mapper App:
    • Download the app from the Play Store or App Store.
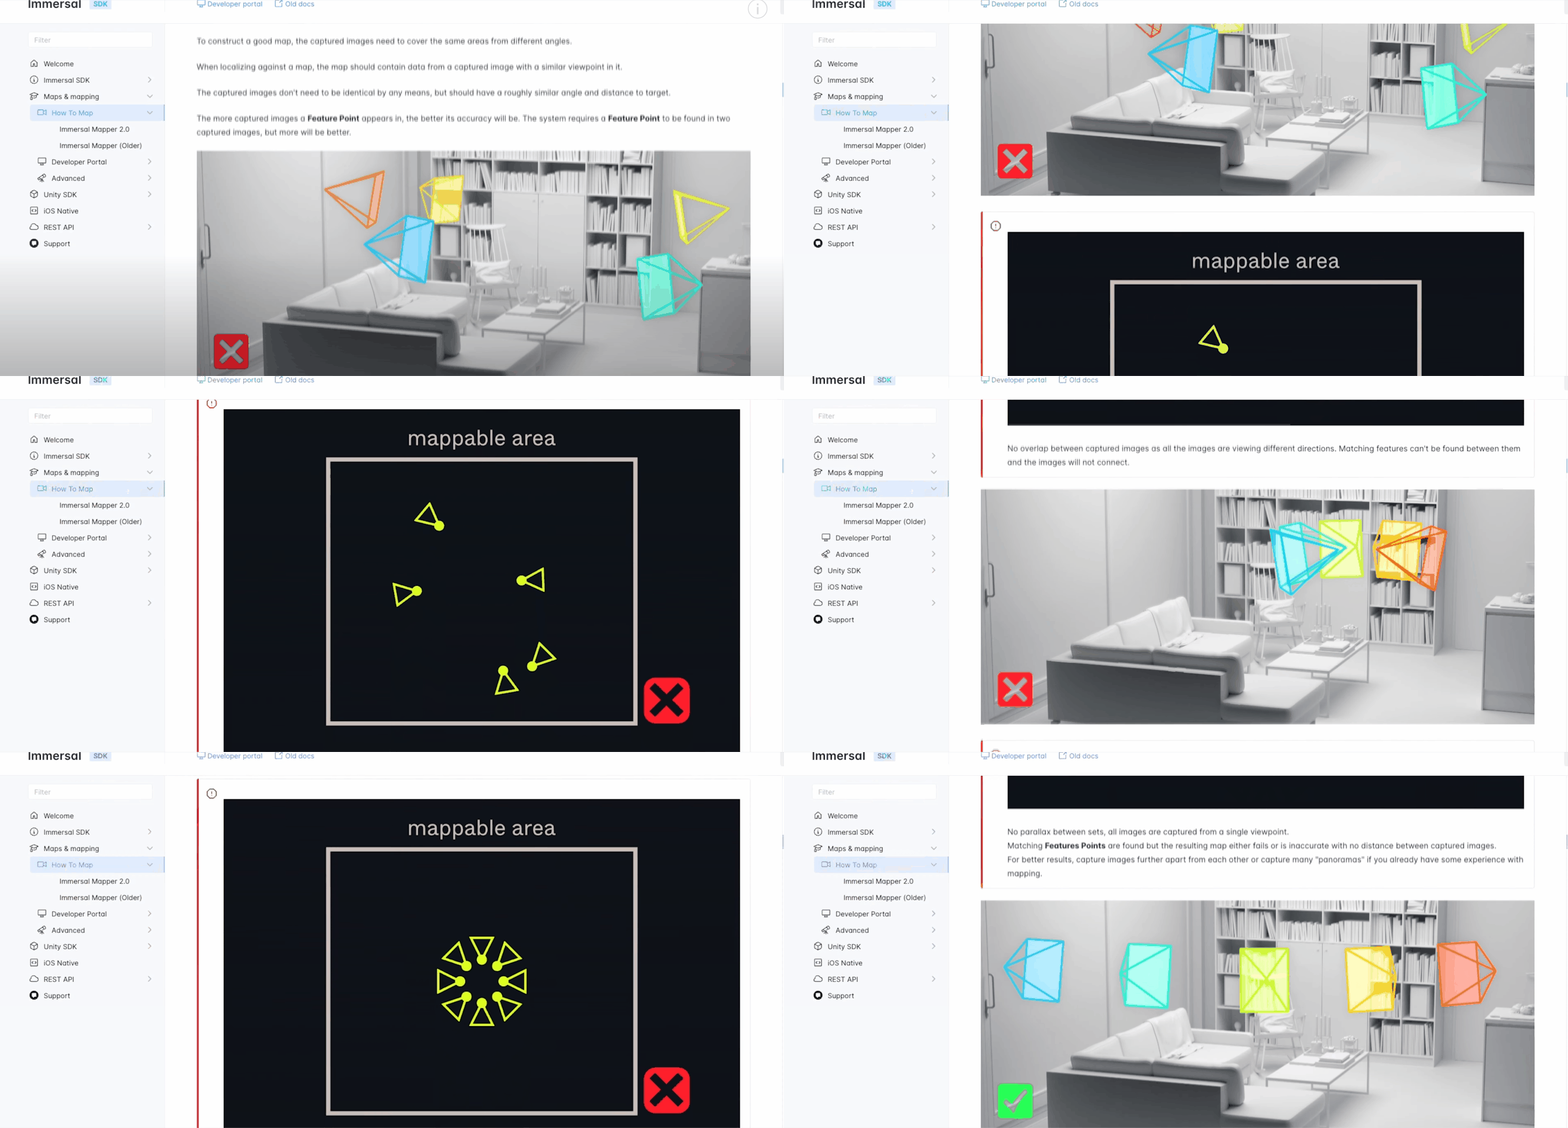
    • Map your environment by capturing images from various angles. Use manual mode for detailed mesh generation, which is essential for this project.
    Mattercraft - The WebXR Tool

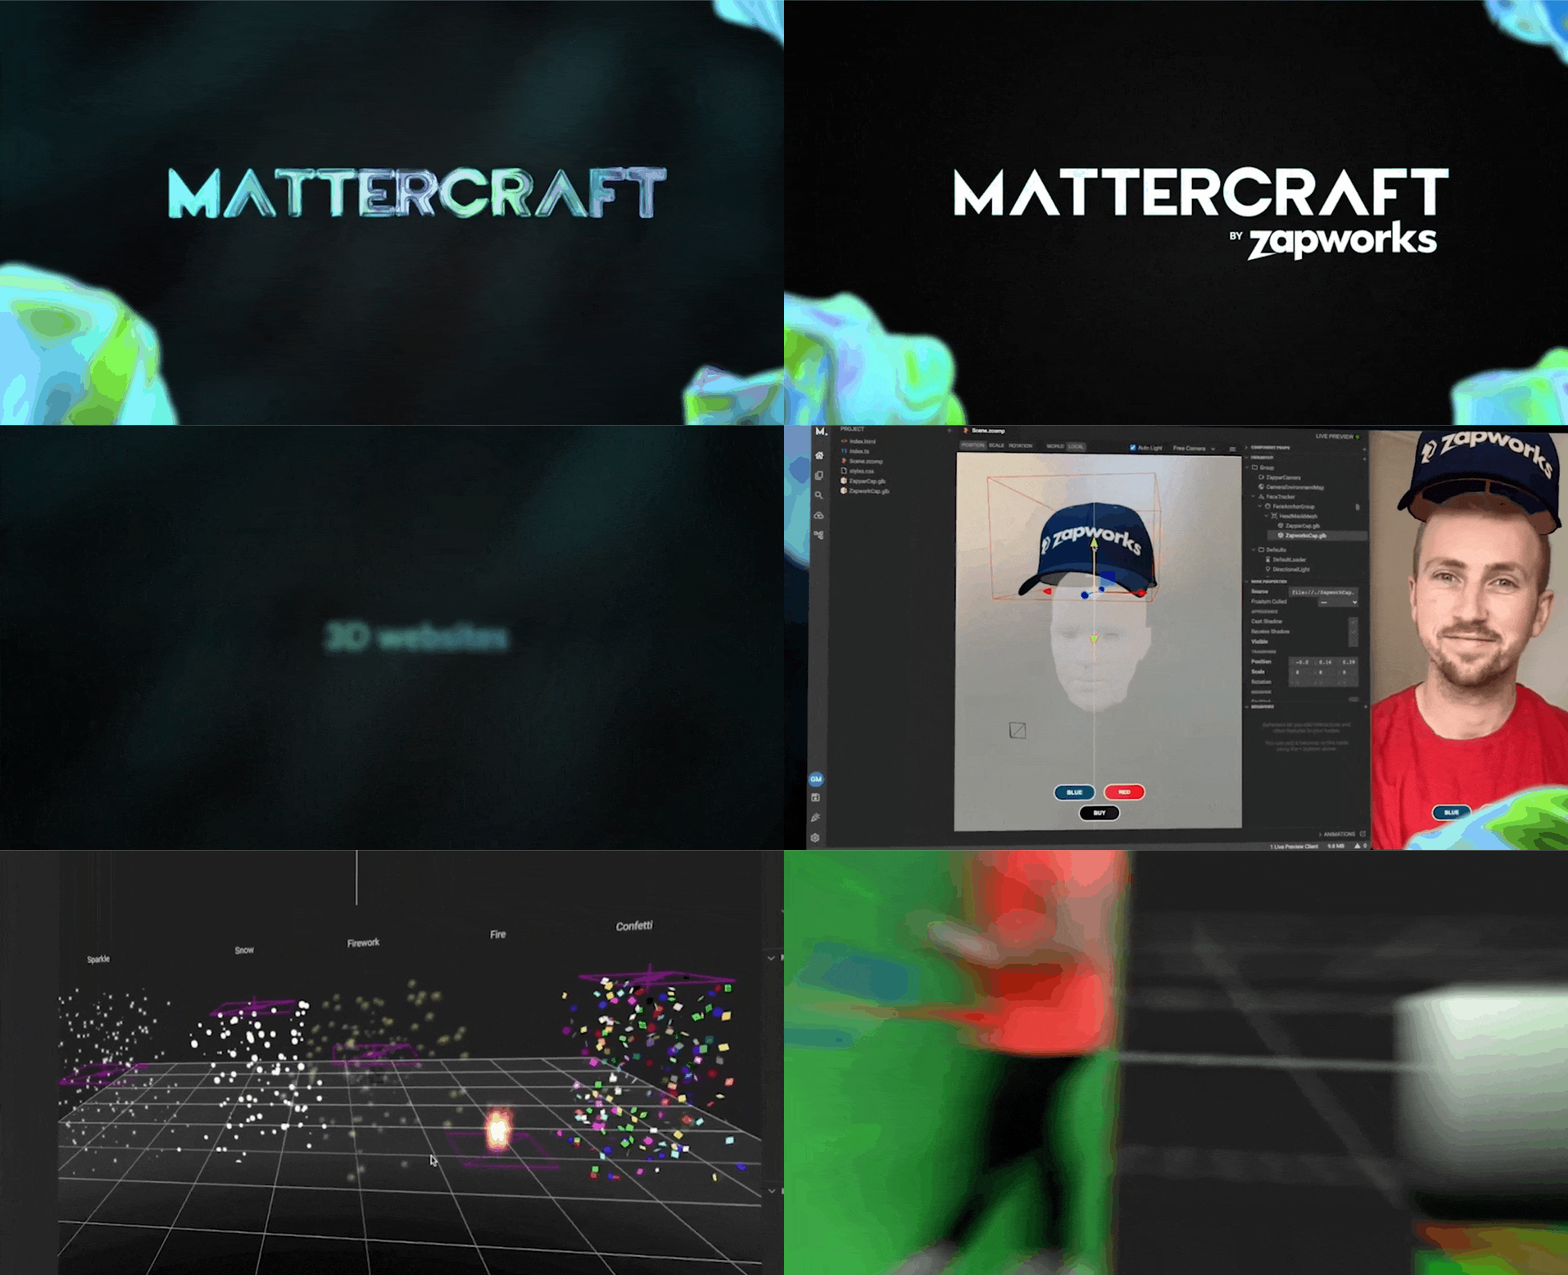
    For those of you who don't know, Mattercraft is an immersive 3D web-based developer tool that allows us to build AR applications for mobile devices, WebXR applications for headsets such as Apple Vision Pro, Meta Quest, and others.

    This tool also enables us to create 3D websites. If you check out the Mattercraft page, you'll see it has a bunch of features like instant live review, real-time physics, particle effects, and the best part—experiences built using this tool can be accessed via any device's web browser.
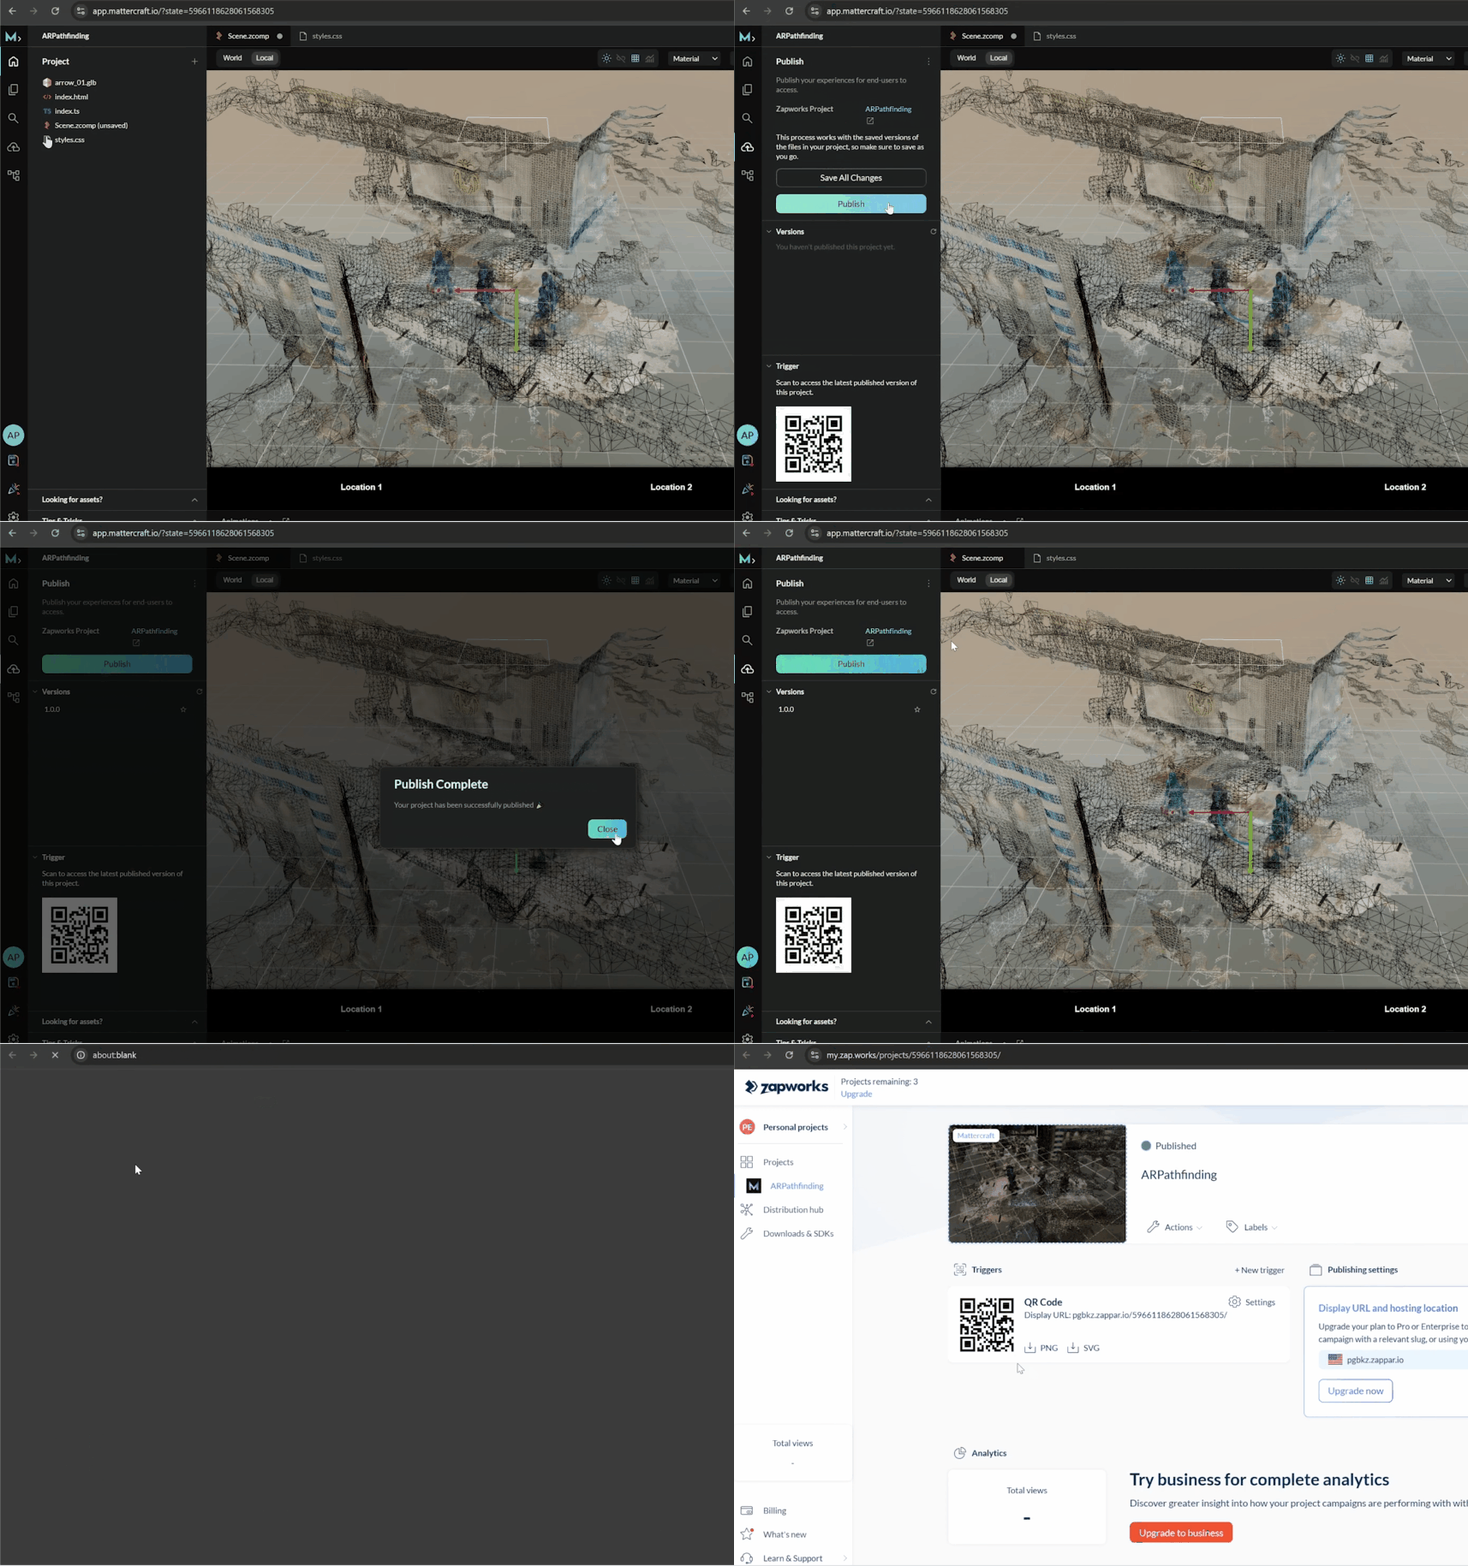
    Head to the Zapworks website. If you're here for the first time, you'll have to create a new account. You get a 14-day free trial, and after that, you can opt in for a developer plan, which is pretty cheap to continue accessing this tool.
    Setting Up the Project

    1. Creating the Project:
      • Visit the Zapworks website and create an account.
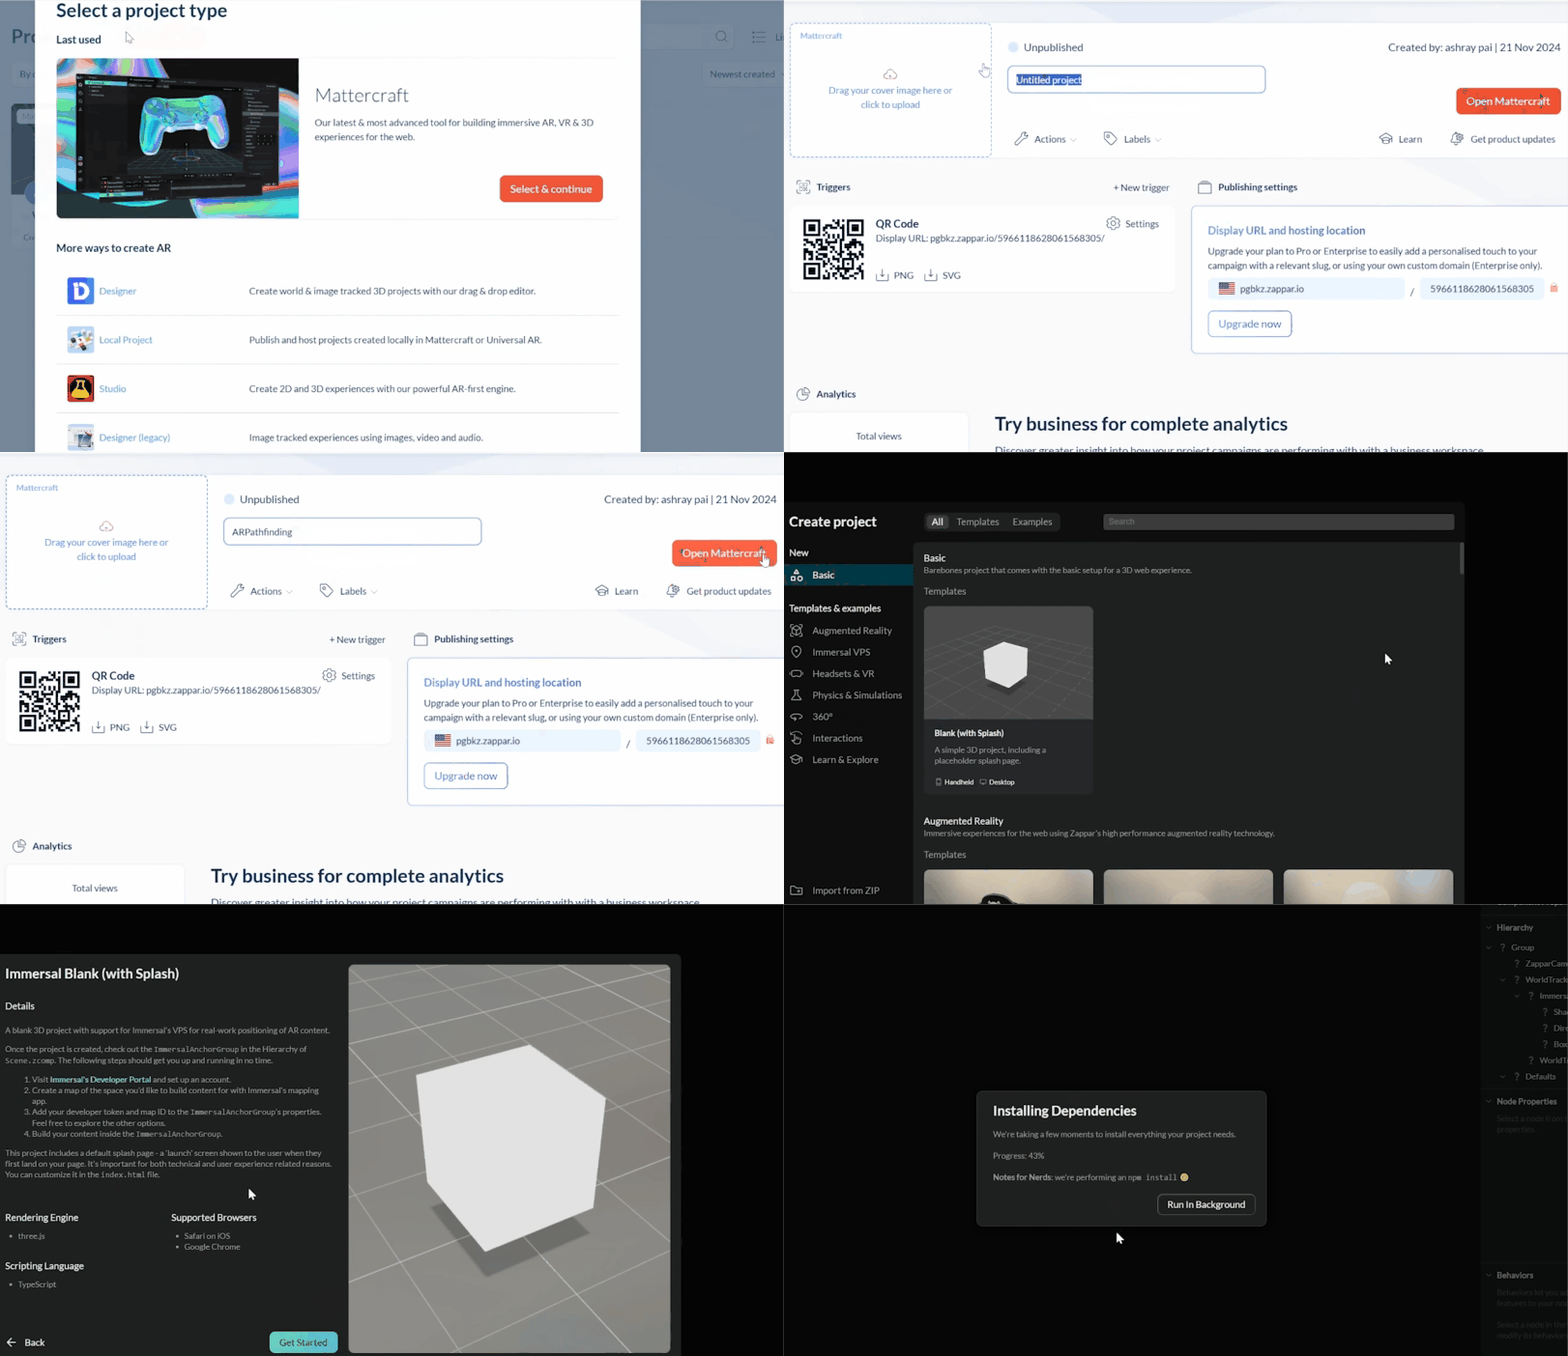
      • Select the Mattercraft project type, name your project, and choose the Immersal VPS template. 
    1. Configuring VPS Settings:
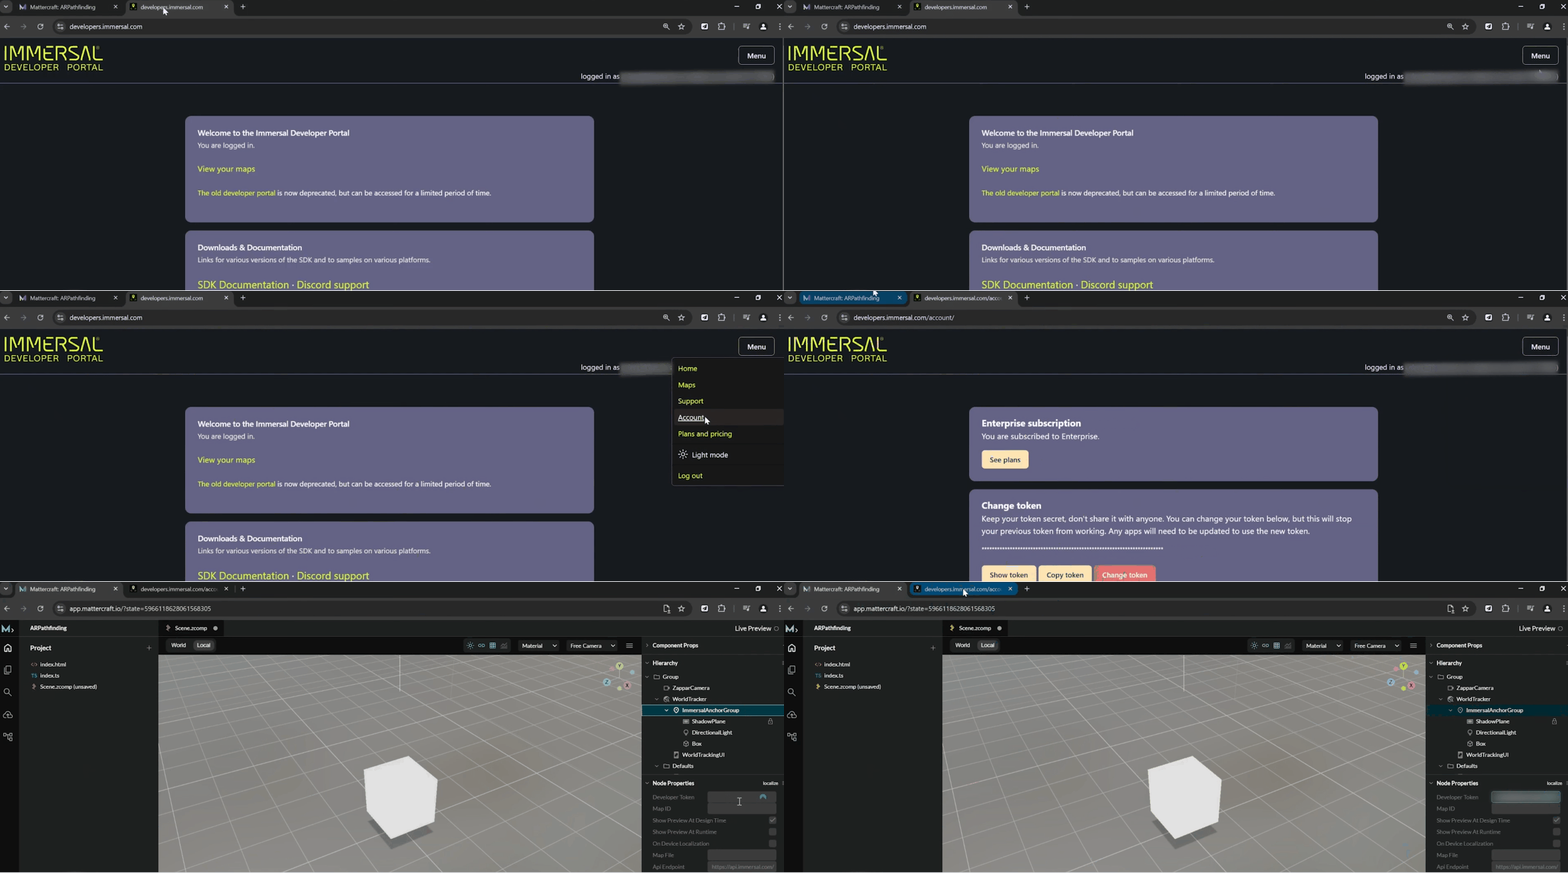
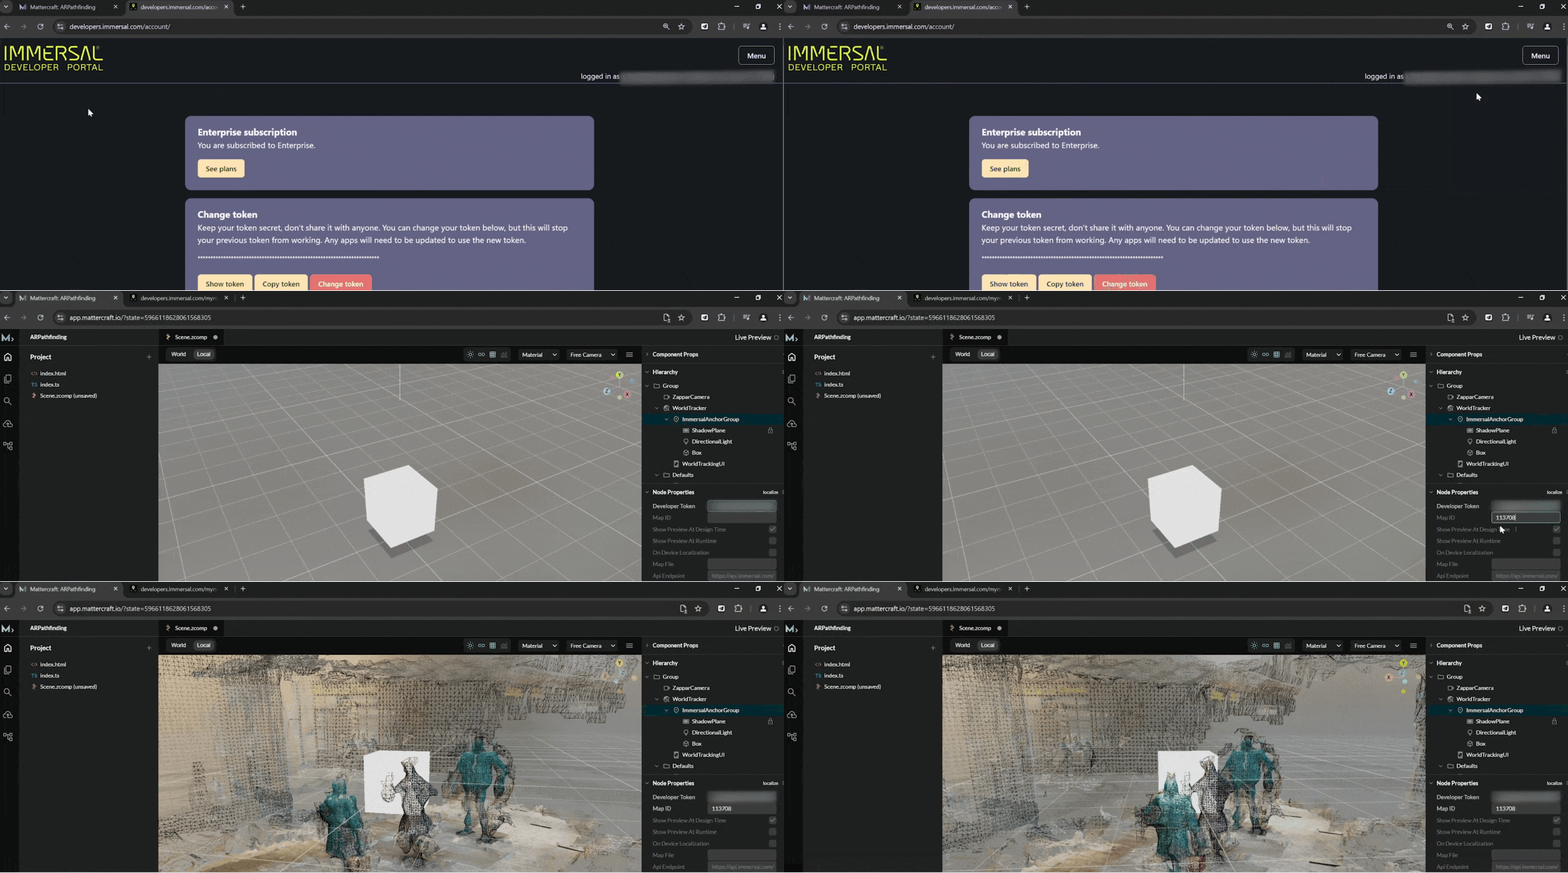
      • Visit the immers developer portal -> click on menu -> account and copy your developer token. Go back inside Mattercraft, select ImmersalAnchorGroup and paste the token in the Developer Token parameter.
      • Once again go back to the developers portal click on menu -> click on maps and copy the ID of the map that you'd like to download.Go back inside mattercraft and paste this inside map ID and click on enter. After a couple of seconds you should be able to see the mesh of your environment

    Download the Source Code

    To save time, download the base project here, modify it, or use it as a reference. Extract the files, open a new Mattercraft project, and select the unzipped folder to get started.

    Designing the AR Experience


    Adding Target Locations

    • Import 3D models (GLB format) or use primitives like cubes to mark target locations.
    • Place and rename these objects appropriately, then hide them by unchecking visibility.


    Creating UI Buttons

    1. Download a CSS Stylesheet:
      • Import it into your project to simplify UI creation.
    2. Add HTML Components:
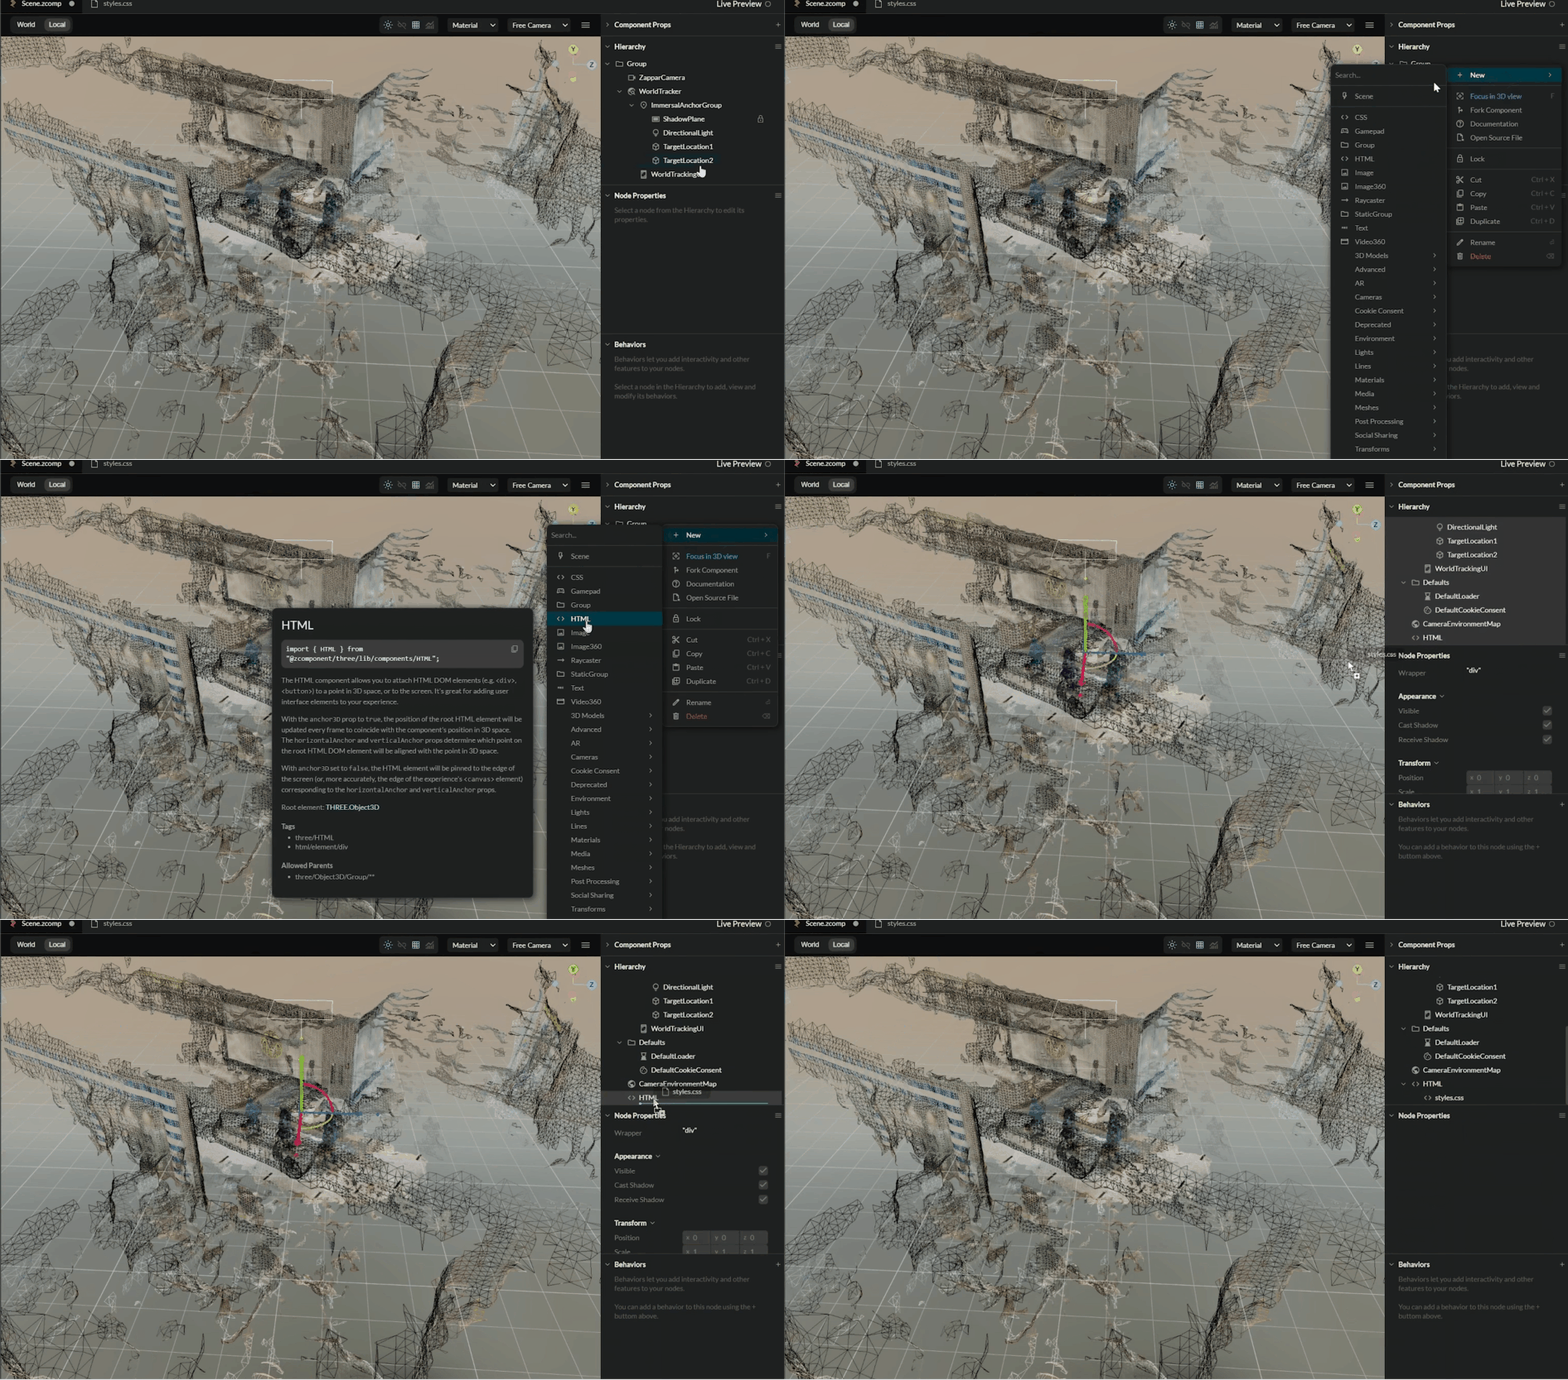
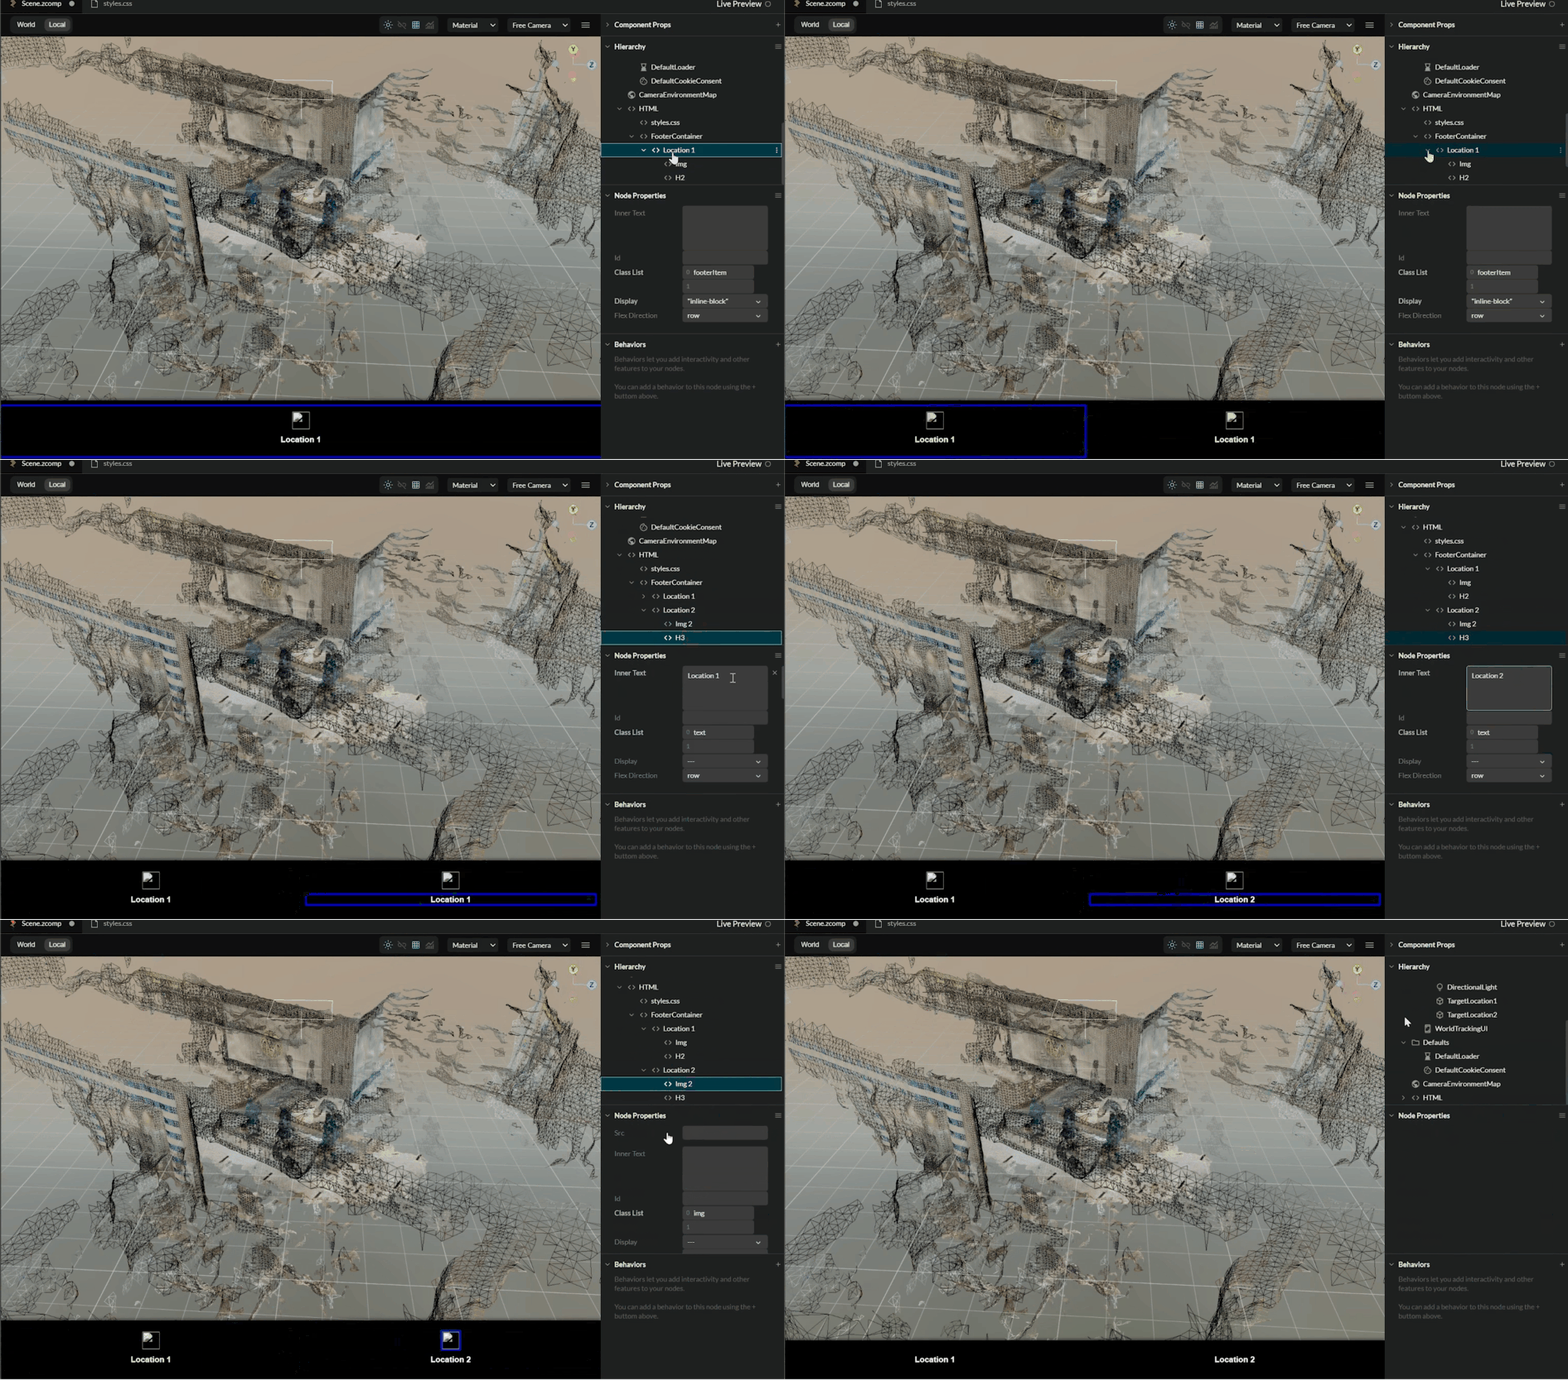
      • Now to create the UI buttons, inside the group, we can create a new HTML component.
        Then select the style CSS file and drag and drop it inside the HTML component.

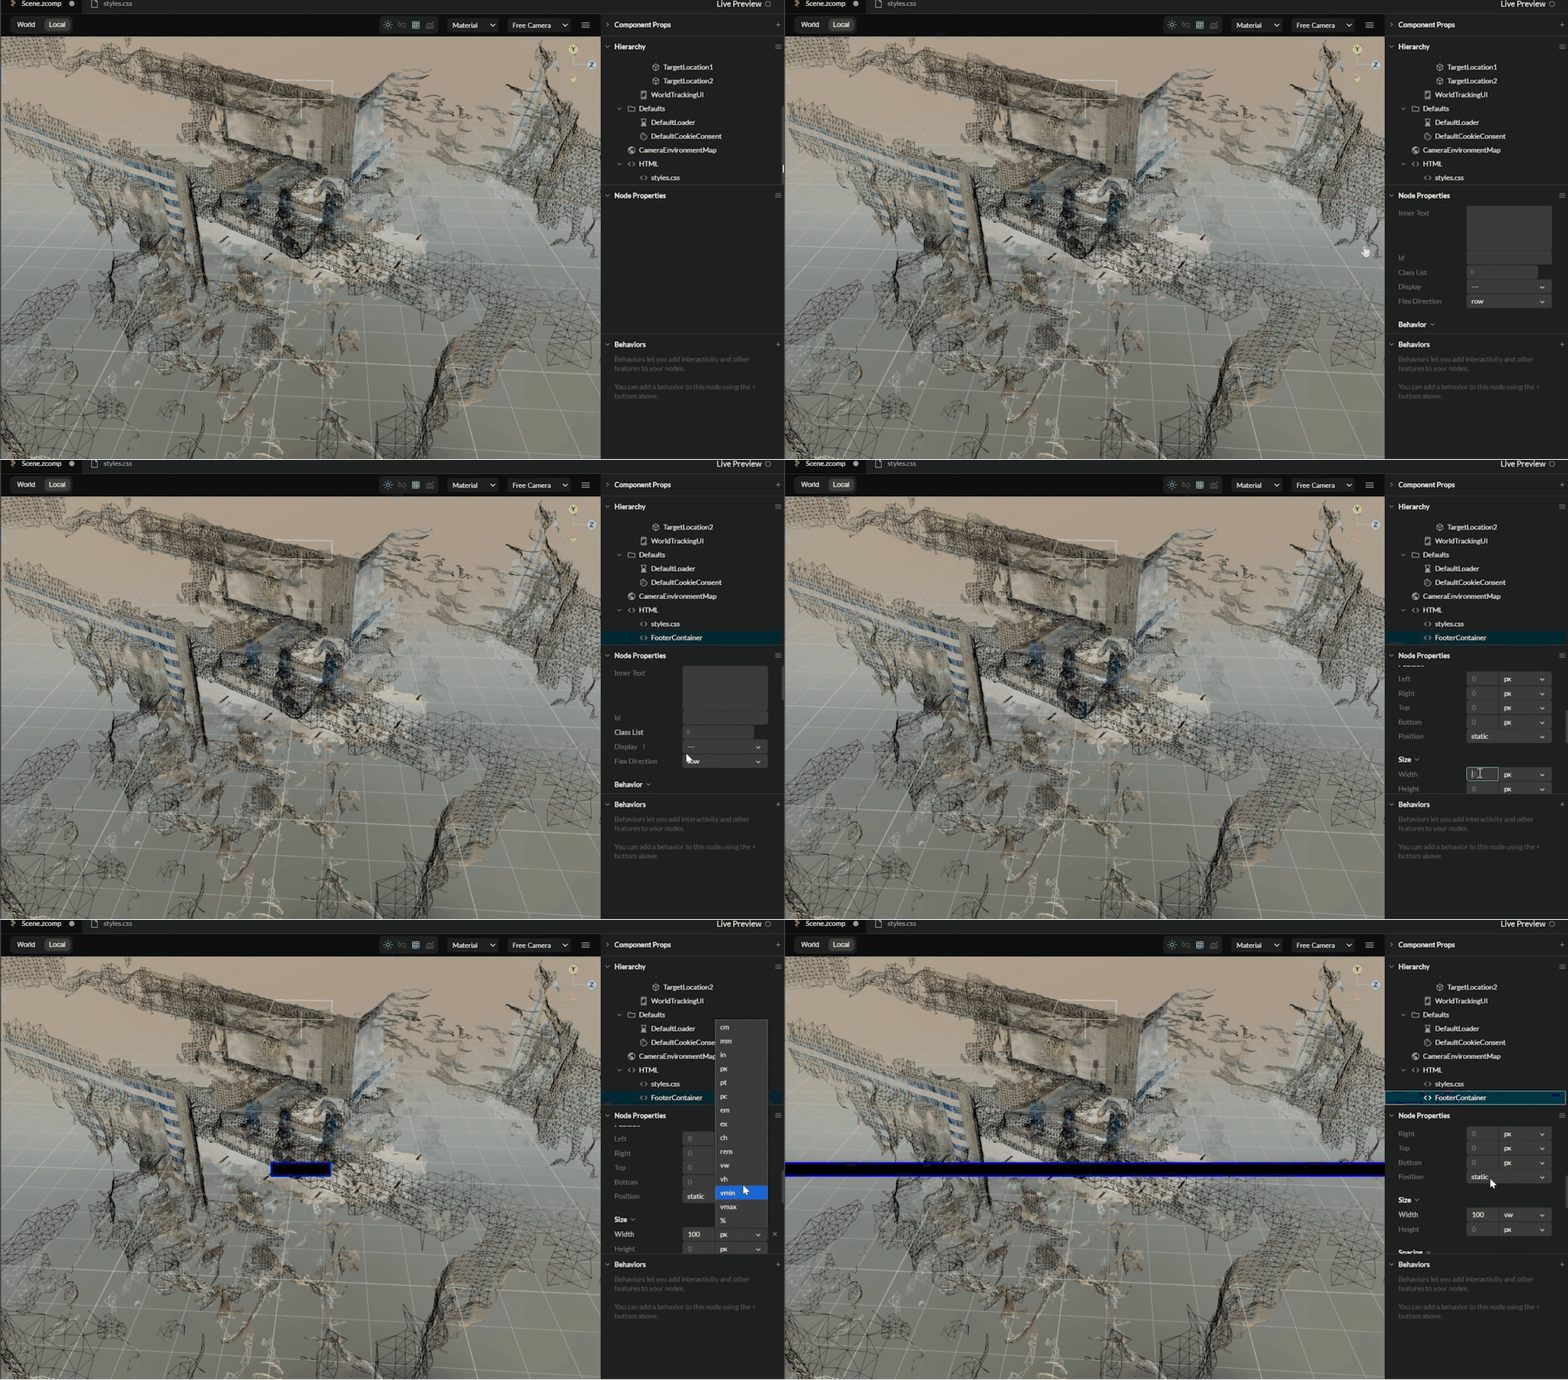
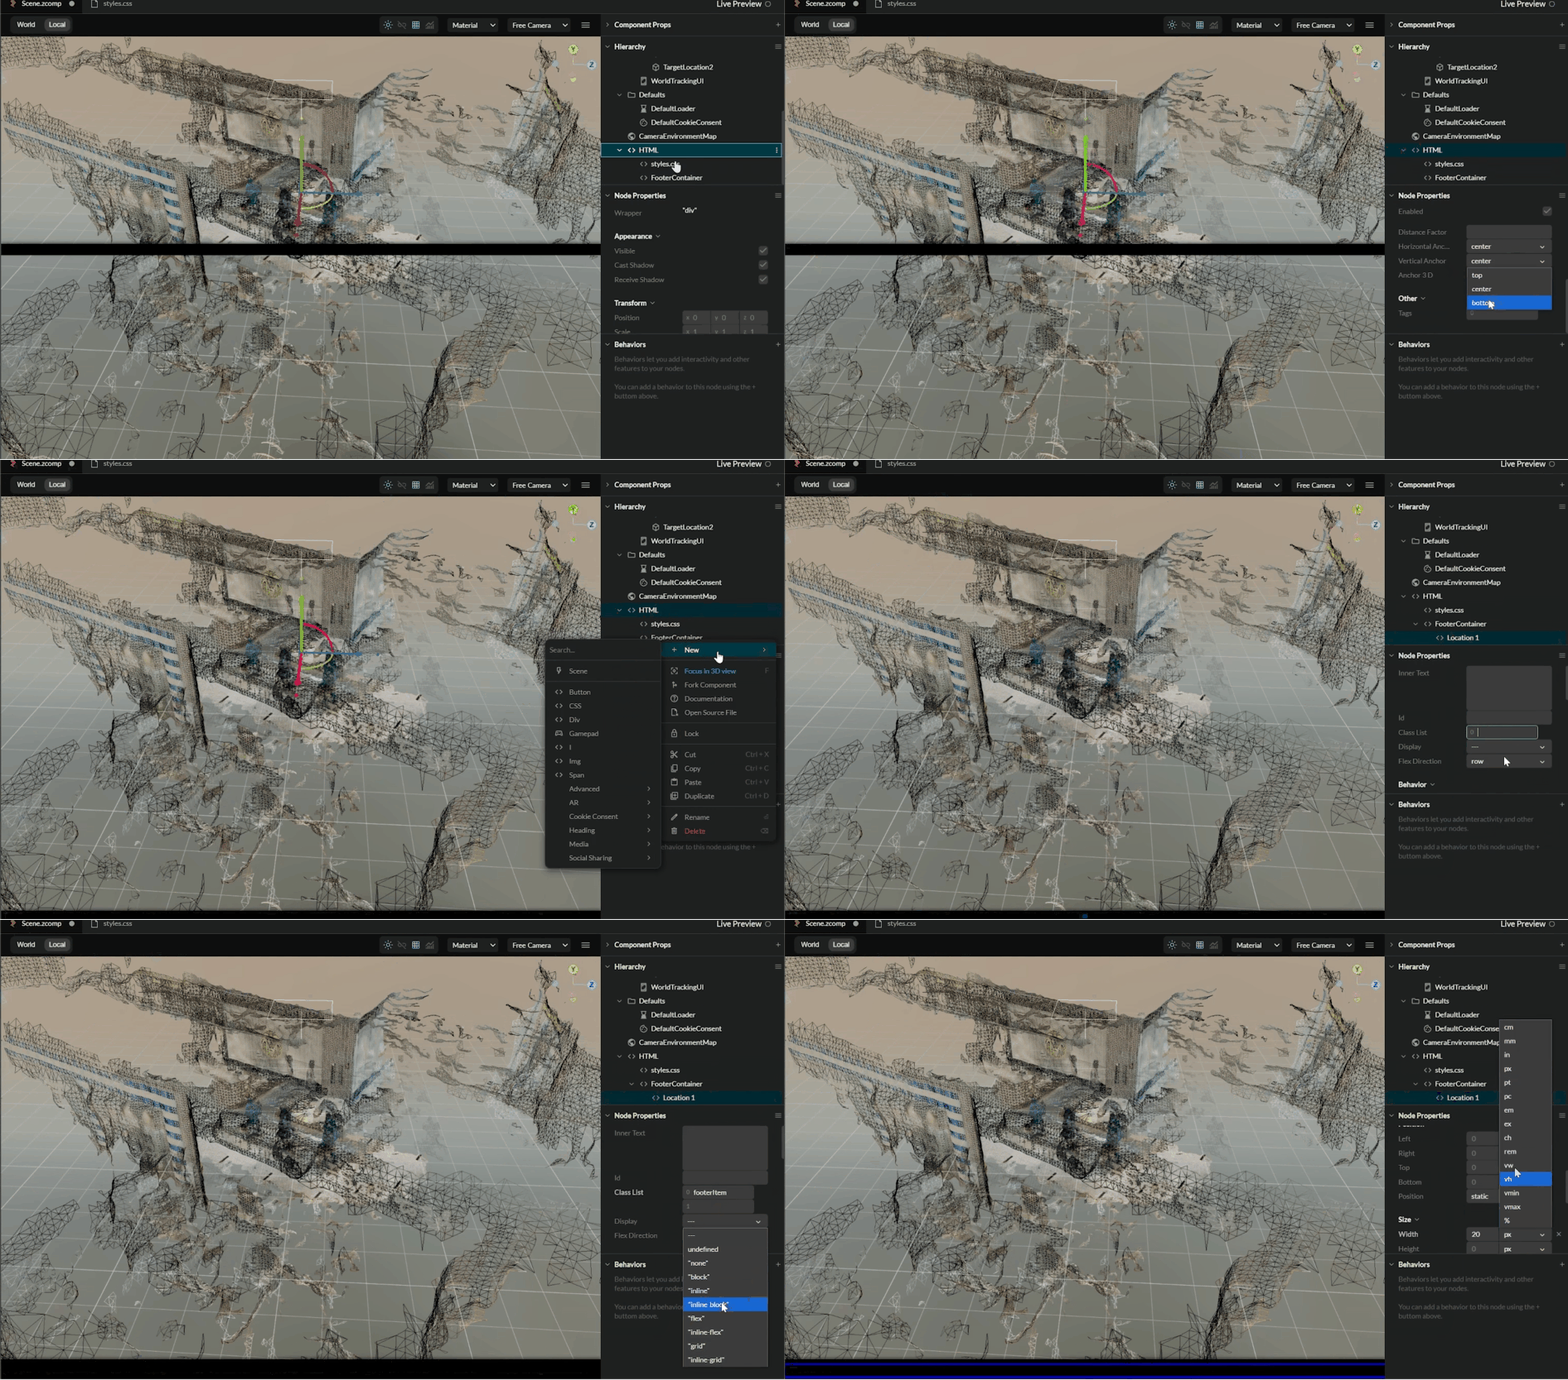
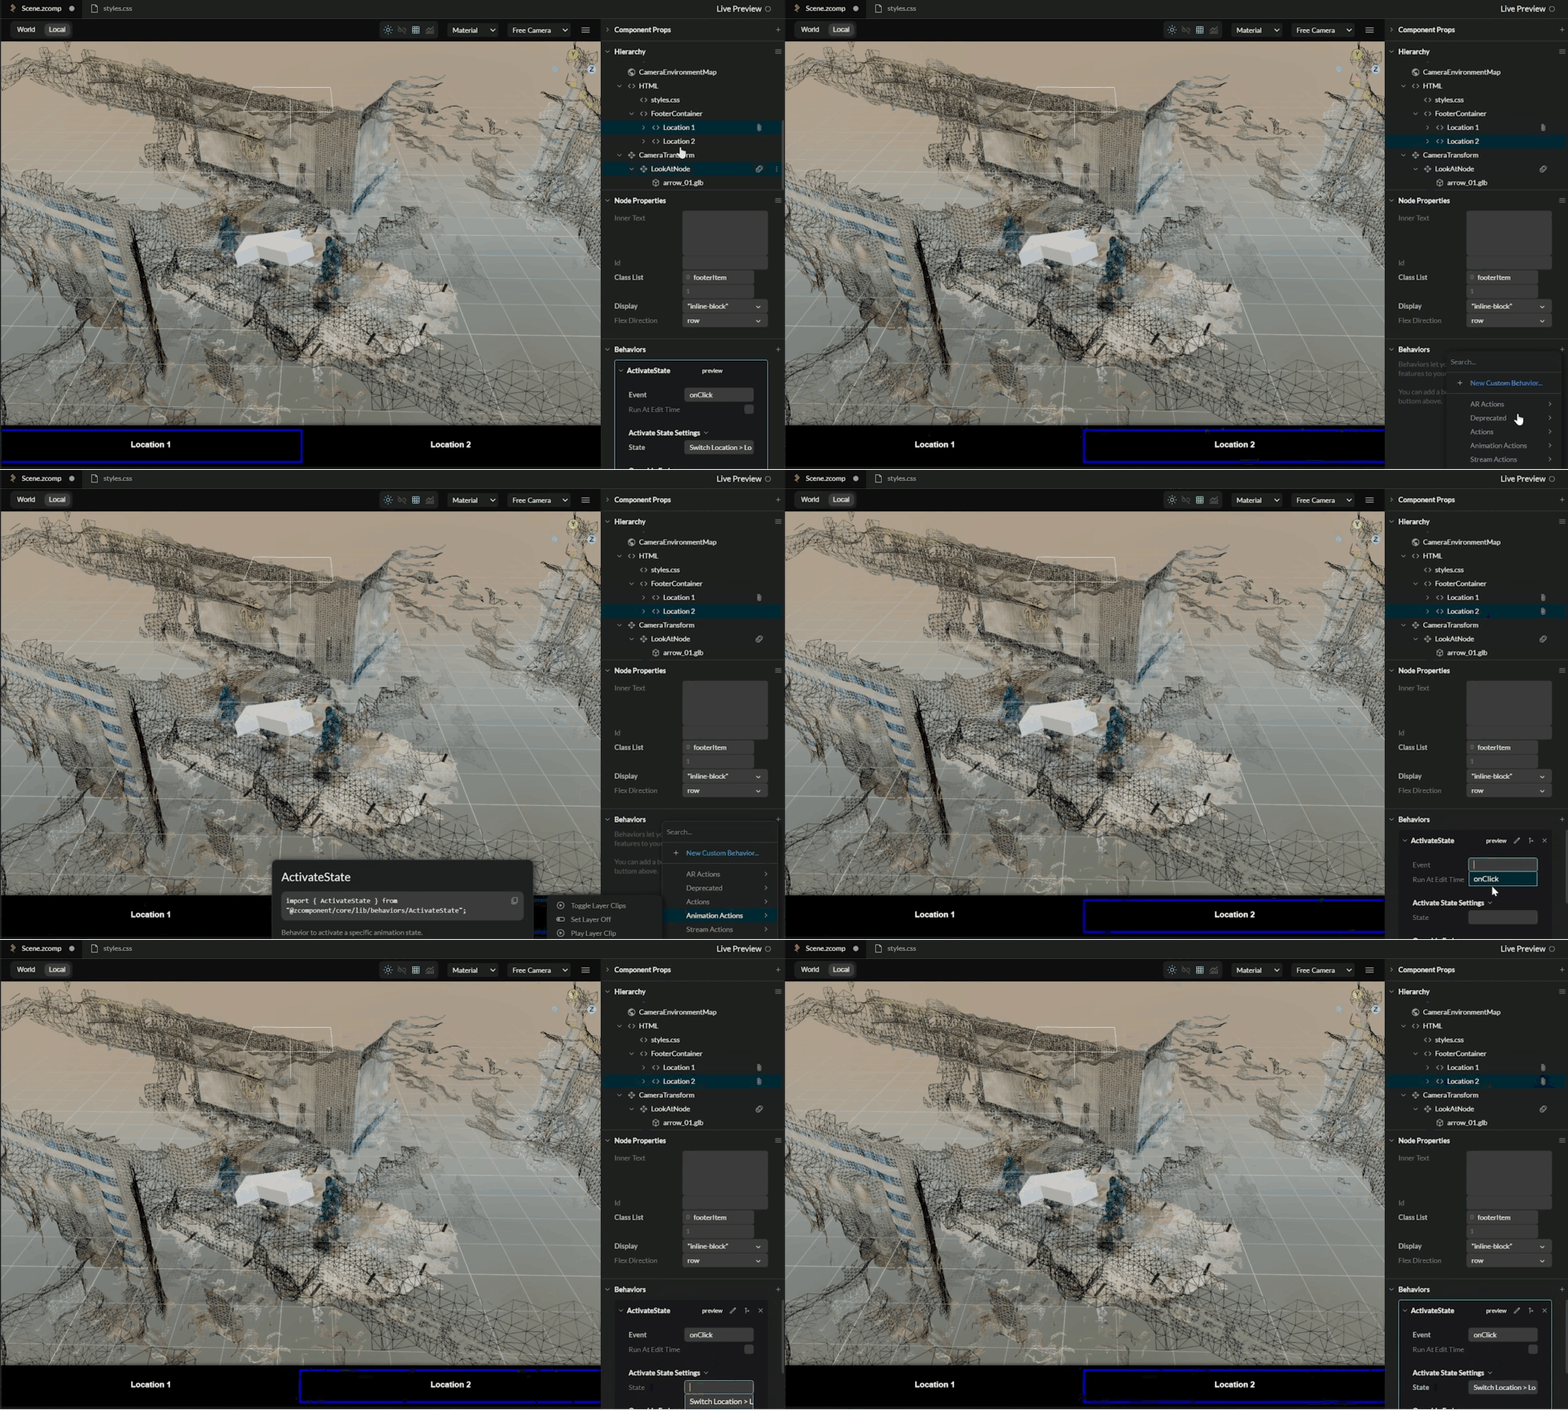
      • Next, to create a Div component as a child of HTML, click on these three dots, click on new, and select Div. Rename this as footer container. In the node properties, create a class list called footer container (ensure "f" is lowercase to match the stylesheet). From the display dropdown, select Flex. Scroll down and set the width as 100, but not in pixels—instead, select viewport width (VW).

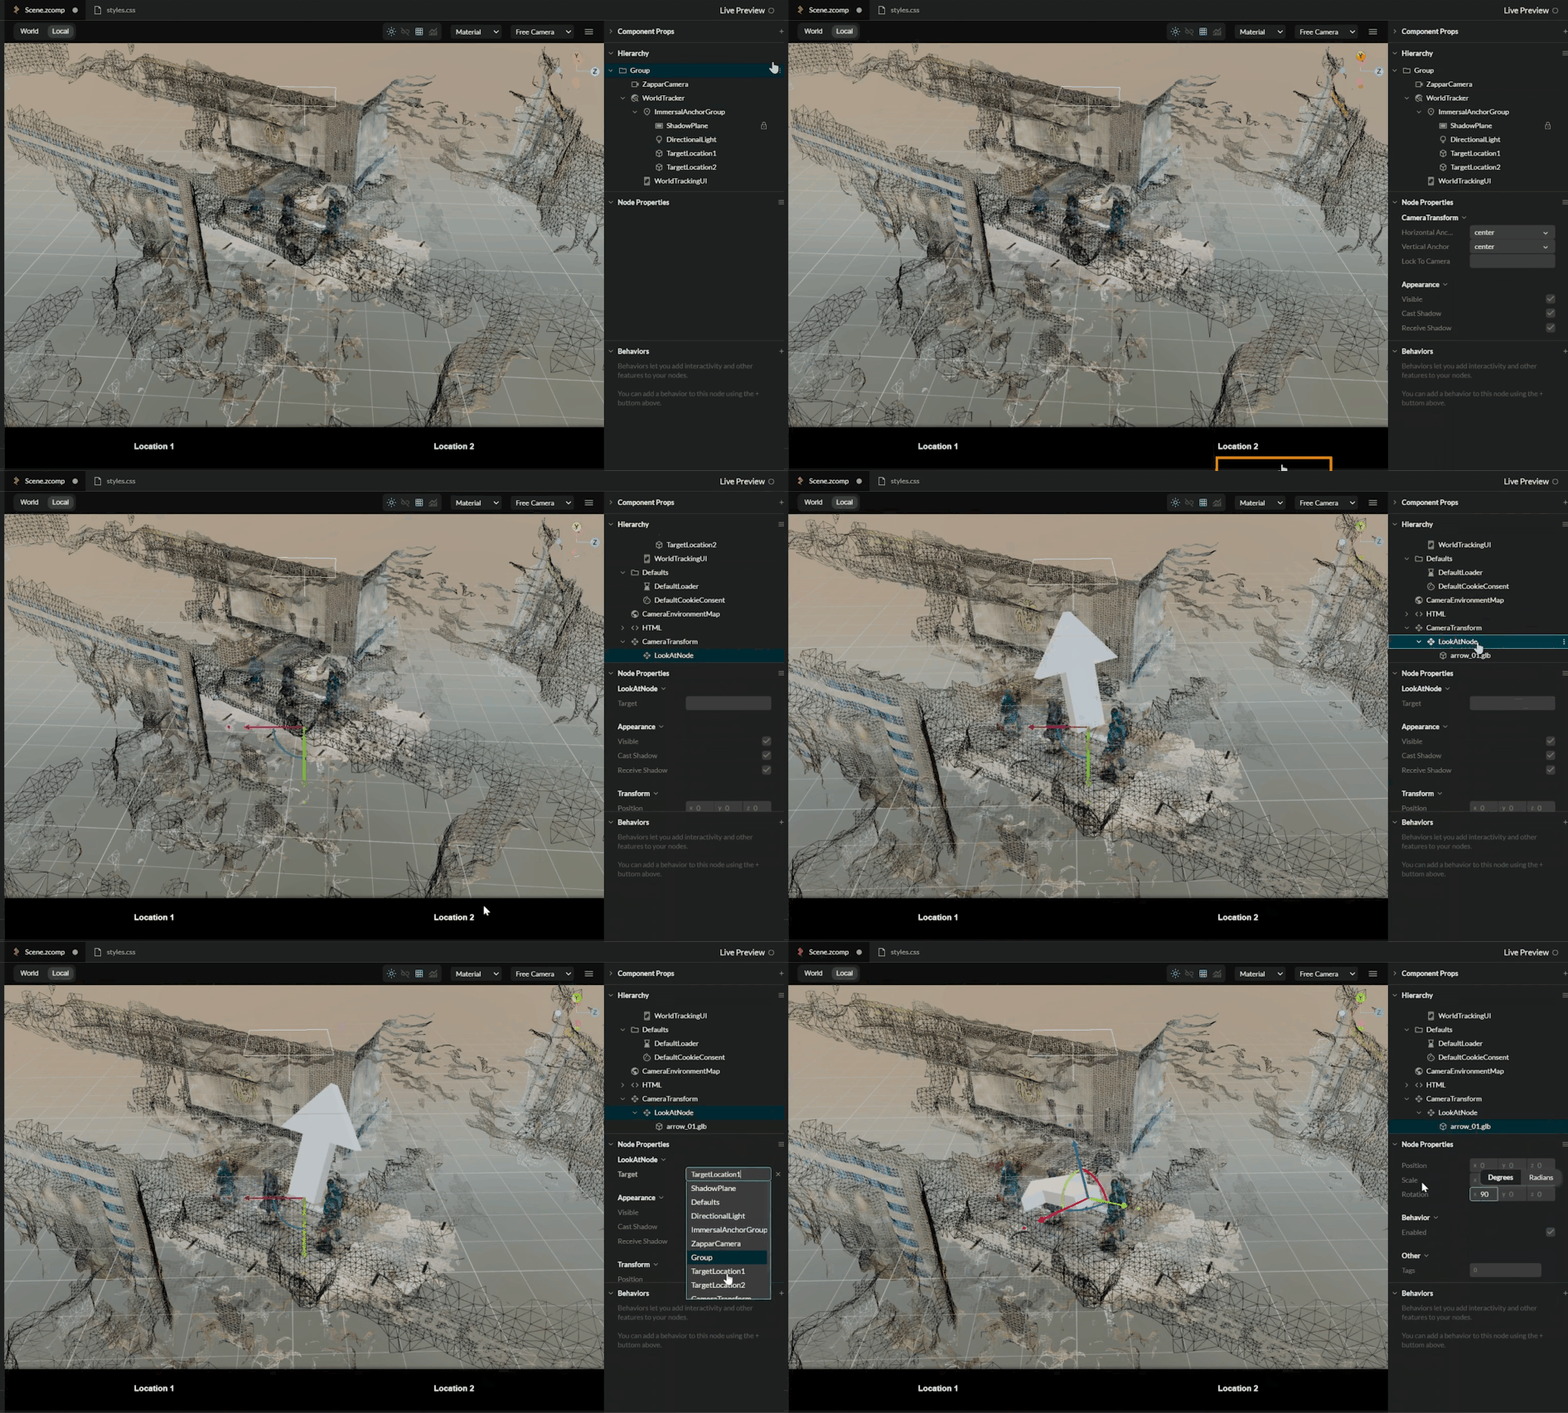
      • For this app, we want to anchor everything at the bottom. Select HTML, scroll down, and set the vertical anchor as bottom. Now we can create UI buttons as a child of the footer container. Create a new div, rename it as location one, set the class list as footer item, set the display to inline block, and set the size to 20 VW.

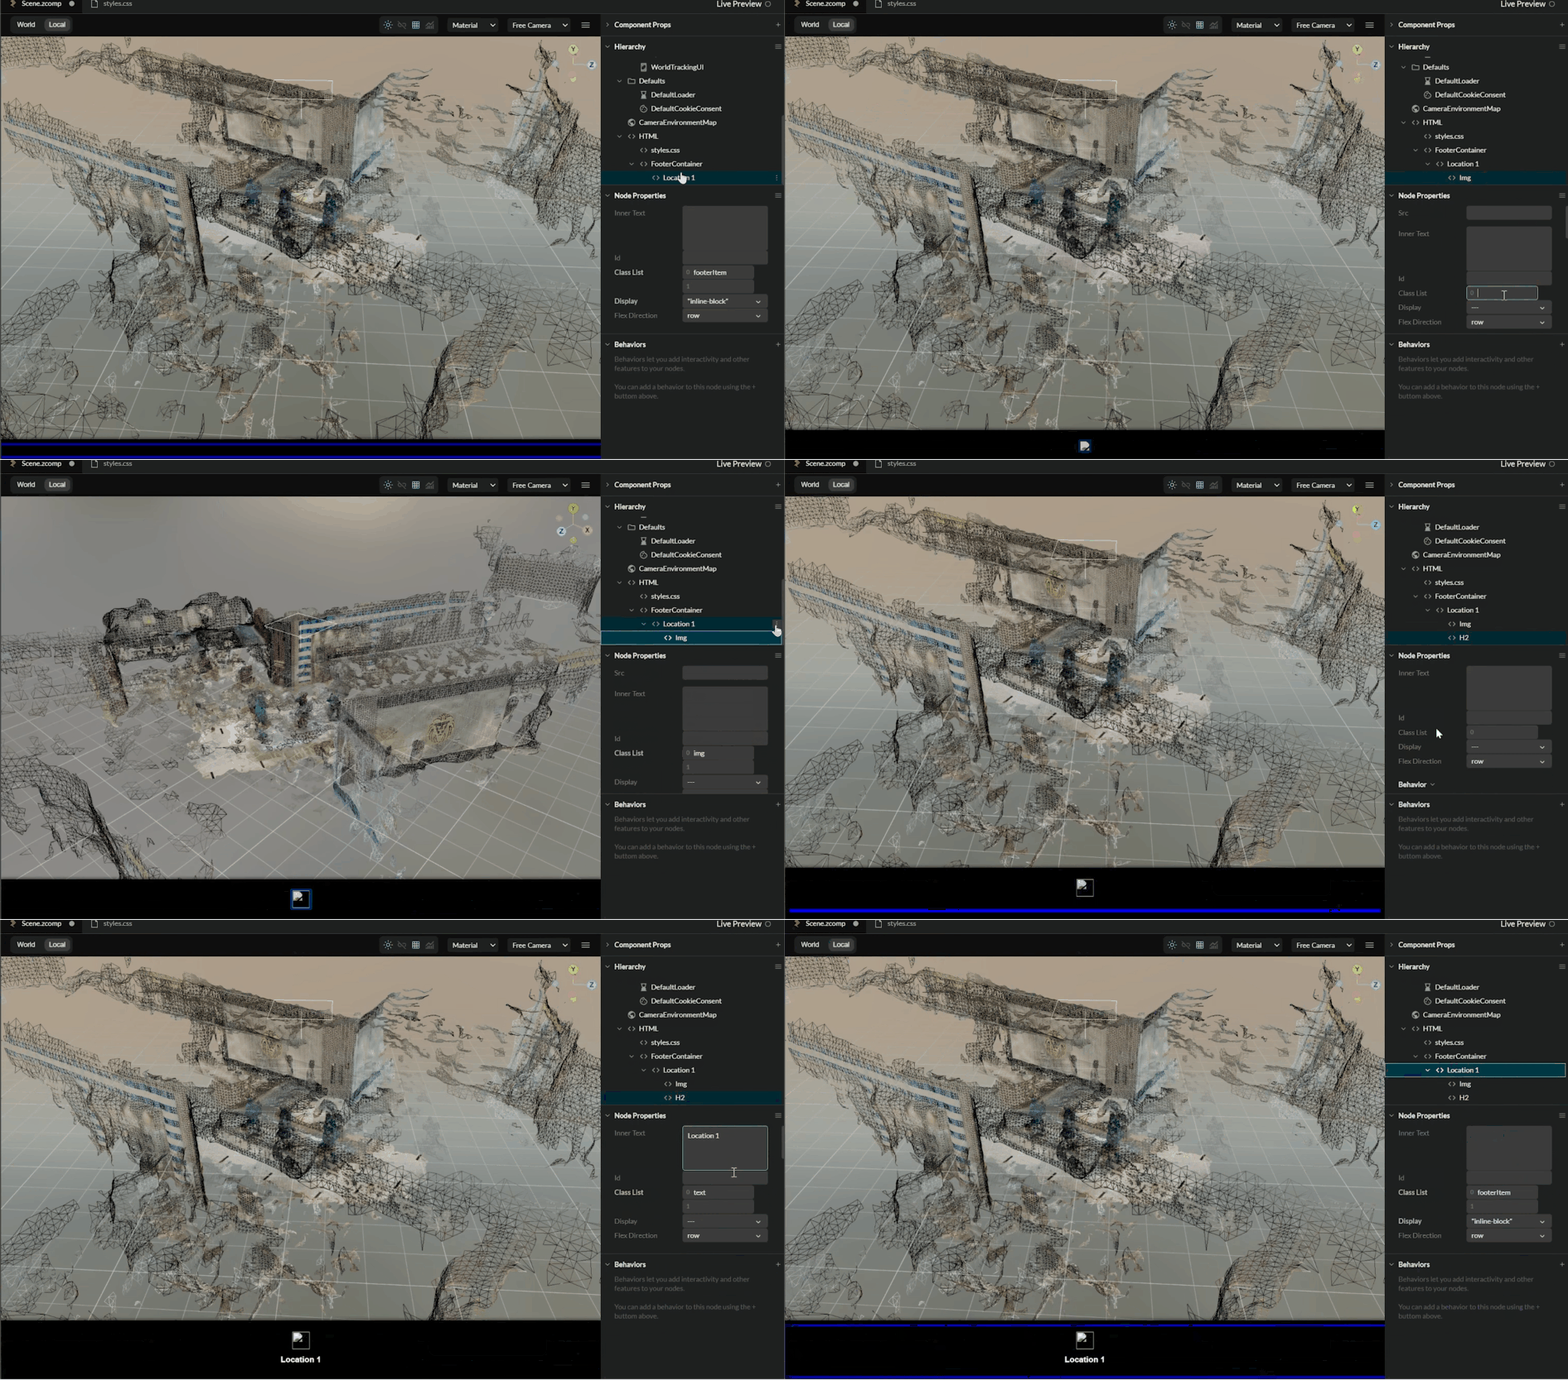
      • Inside this location, add an image. Add a class list called IMG and leave the rest of the settings as is. Similarly, create a text of type H2, set the class list as text, and write the text for your button. Now, if you click on location one, this whole thing will be your button.

      • Since we have two locations, duplicate this button and rename the second one as location two. The stylesheet will automatically space the buttons equally. If more locations are needed, duplicate further. For now, keep it simple with two locations. To add images, first upload them to your project, then drag and drop them into the source. If unnecessary, delete extra items.


    Implementing the Direction Pointer

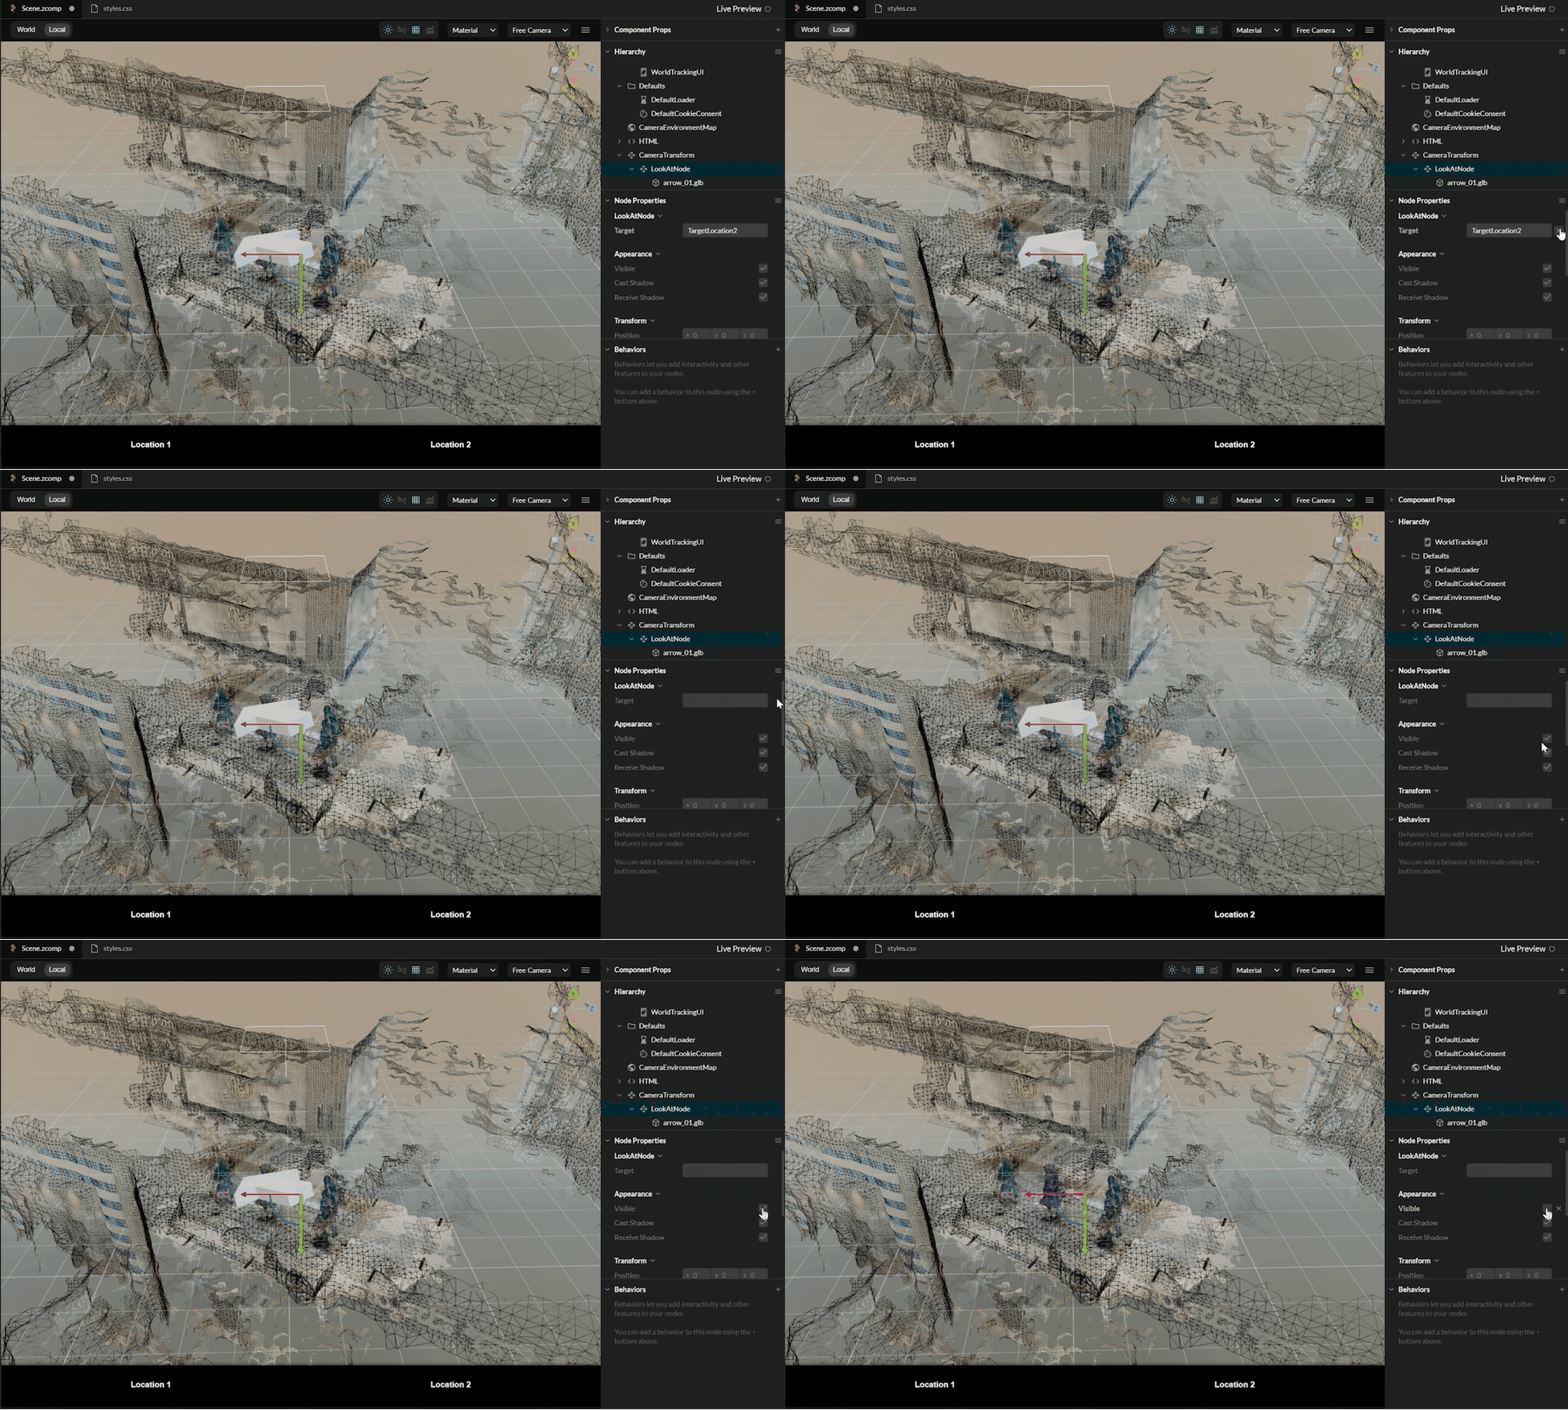
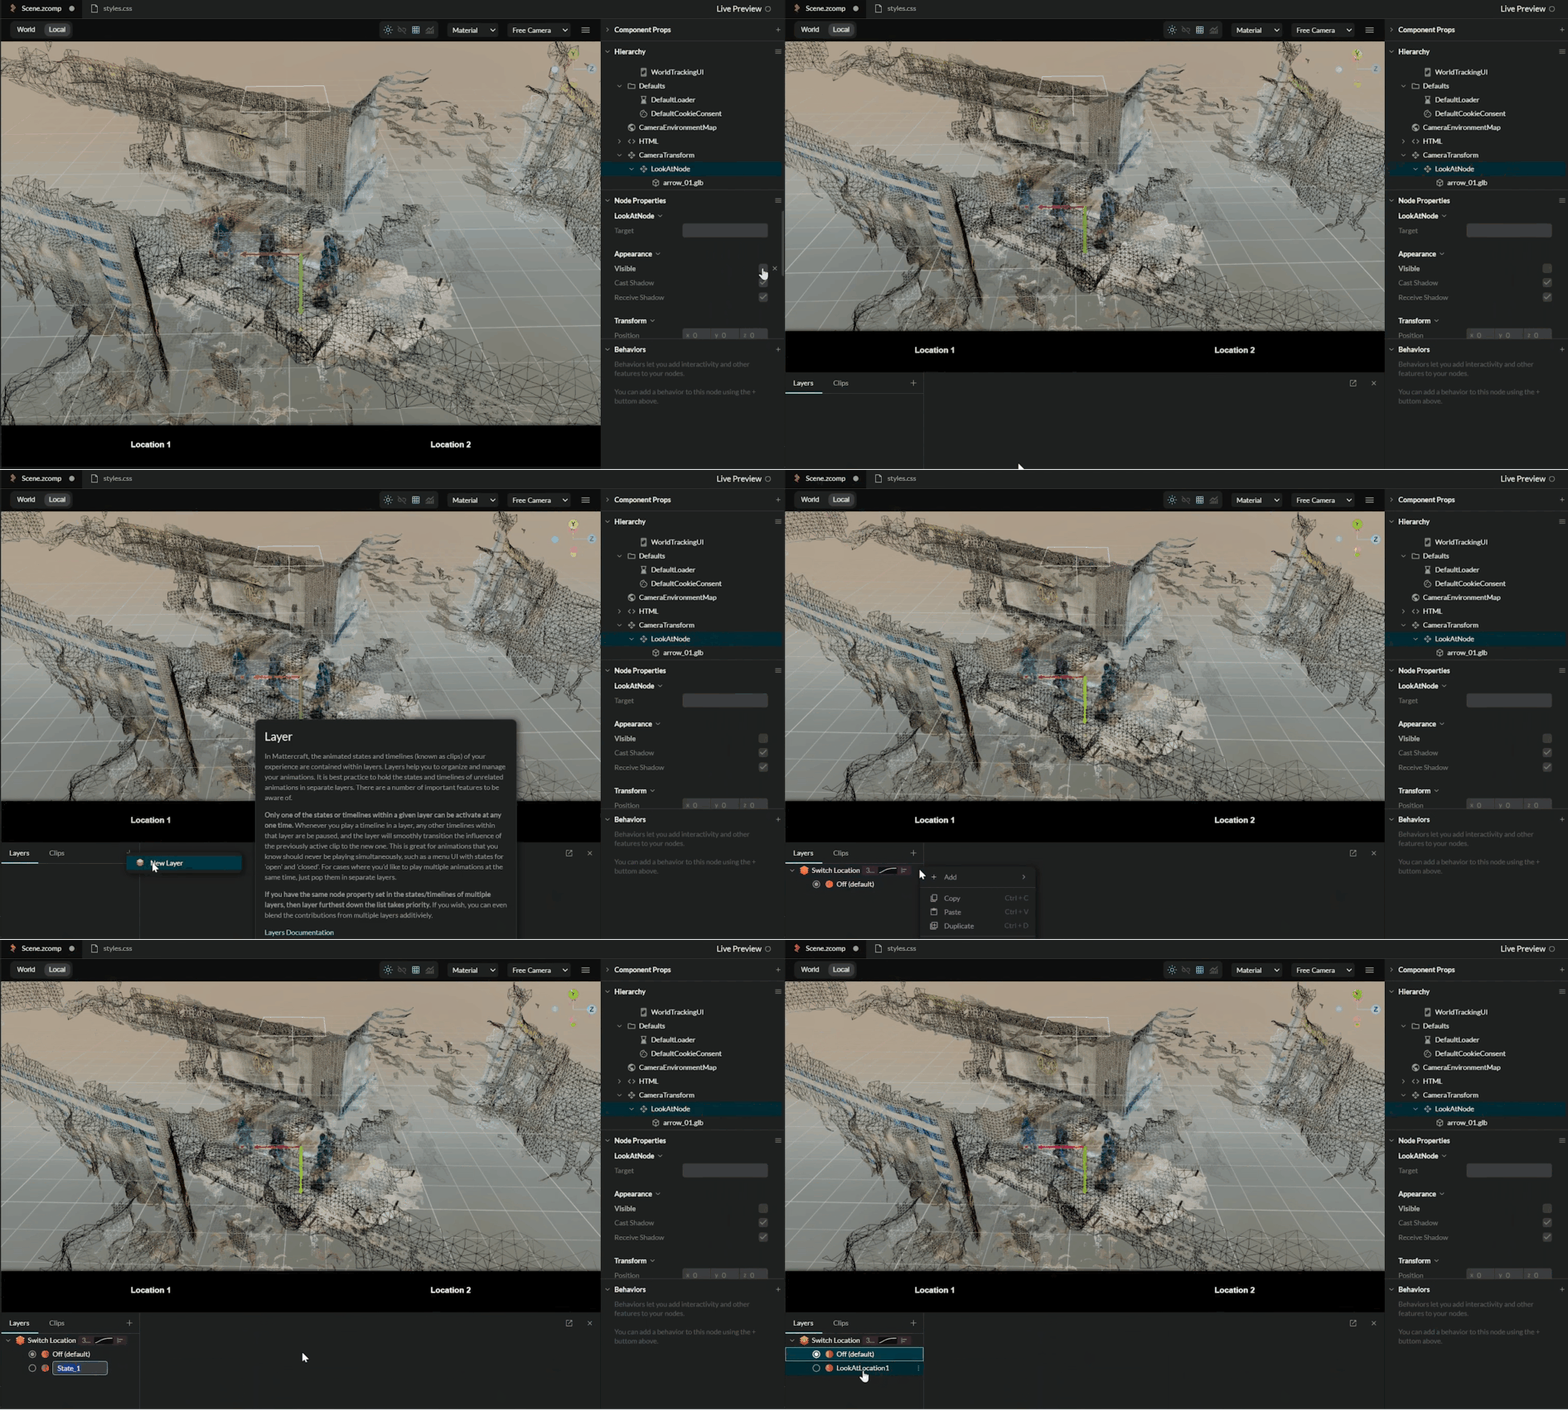
    • Import a 3D arrow model.